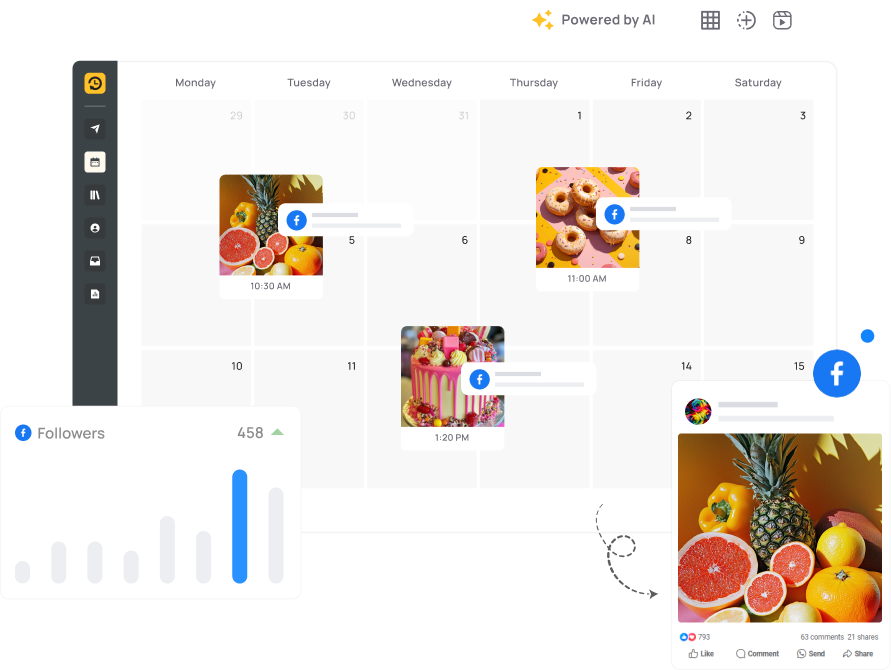
Update: Facebook has shut down Groups APIs on April 22nd. That means no legit app can post on Facebook groups anymore. The apps that claim to be able to post directly are violating Facebook’s TOS and will likely put you in Facebook jail. We at RecurPost have come up with a solution to help you still schedule posts on Facebook. Please sign up today and give it a try. We will update this post soon with the exact steps.
You might have created a Facebook Group to build a community for your business. Itโs a place where you can connect with like-minded people and have conversations related to your industry. However, posting actively in the group can be time-consuming โ all those tasks of setting reminders and posting manually along with managing other social platforms just donโt cut anymore. Luckily, youโve got the option to Schedule Facebook Group Posts!
Weโll take you through both options: scheduling posts on Facebook groups natively as well as using a social media management tool.
Schedule Posts on Facebook Groups Natively
Schedule Posts on Facebook Groups through the Desktop
Follow the below steps to schedule posts to Facebook groups:
- Go to the Group on which you want to schedule a post.
- Start by writing your post by clicking on the โWrite Somethingโ button.
- Write the description you want, add media or hashtags, and then click on the calendar icon at the bottom-right corner to schedule posts to Facebook groups.
- Select the date and time when you want your post to be published and click on โScheduleโ. Your post is now scheduled and will go live as per the timings set.
If you can’t schedule posts on a FB group, check the solutions here.
Need to make changes when you schedule posts to Facebook groups? Follow the below steps.
- Go to your Facebook group and navigate to the โScheduled postsโ section from the left-hand side panel. Here youโll see all the posts that you have scheduled.
- From here, you can reschedule your post or upload it instantly. To edit or delete the post, click on the three dots and a drop-down menu will appear. Here you will get a lot of other options like โTurn off commentingโ and โTurn off translationsโ.
Schedule Posts on Facebook Groups through the Facebook App
Here’s how to schedule posts on Facebook groups through the app:
- Open the Facebook mobile app on your mobile device.
- Navigate to the group where you want to schedule a post.
- Tap on the “Create Post” button at the top of the screen.
- Type out your post and include any photos or videos you want to add.
- Tap on the “Schedule” button located under the post.
- Choose the date and time you want your post to be published.
- Tap on the “Schedule” button again to confirm.
Additionally, you can schedule Facebook Live sessions in groups by following the steps outlined in our guide on how to schedule Facebook Live in groups.
Your post will now be scheduled to publish at the date and time you selected. You can view and manage your scheduled Facebook posts by navigating to the โScheduled Postsโ tab in the group menu. From there, you can edit, reschedule, or delete your scheduled posts as needed.
This feature works great when you have to schedule a one-off post. But, what if
- you have to schedule multiple posts at once
- you have to schedule Facebook posts on groups that go out in a recurring manner
- you want to schedule posts on Facebook groups as a Page and not as a profile
- you want to schedule posts to both your Facebook groups and page at the same time
You cannot bulk schedule Facebook group posts natively.
Are your scheduled posts in your Facebook group not working? Discover the common issues and effective solutions to ensure your posts go live as planned. Find out more here.
Well, to be able to bulk schedule Facebook posts, you need a social media scheduling tool. And out of the very few tools providing this functionality, the best is RecurPost.
Letโs see why you should choose RecurPost to bulk-schedule Facebook group posts and how you can use its Facebook Scheduler.
Why use RecurPost as your Facebook group post scheduler?
RecurPost provides a lot of features that will win you over while choosing a tool for scheduling posts on Facebook groups, business pages, or personal profiles. But before knowing about the features, you must know how to use Facebook group for business.
- Support for multiple platforms: RecurPost lets you schedule Facebook posts to multiple groups, pages, and profiles. Apart from that, it also provides support for Instagram, LinkedIn, Twitter, YouTube, TikTok, Pinterest, and Google My Business.
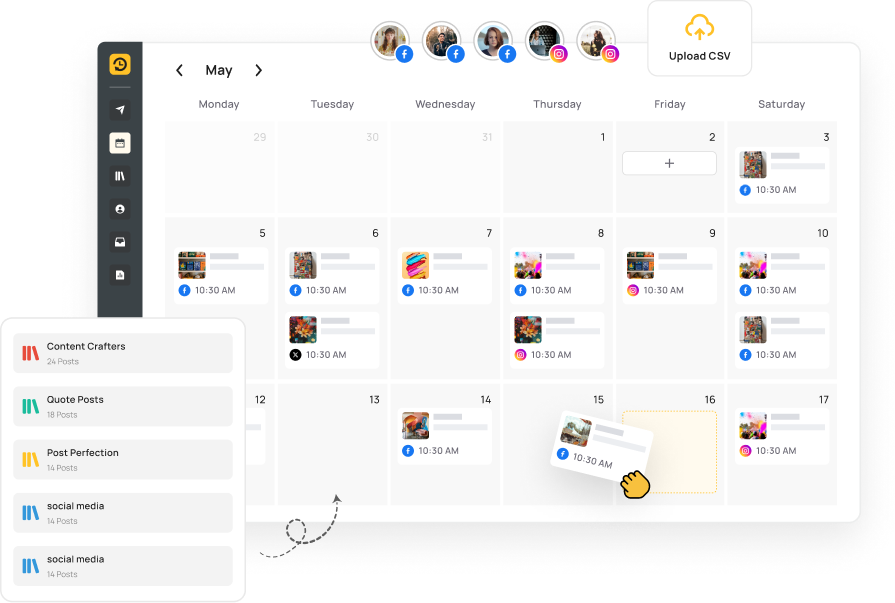
- Bulk scheduling: Using this feature, you can plan and schedule tons of posts in advance for multiple Facebook groups, profiles, and pages. You can upload content in bulk with social media bulk scheduling through CSV files.
- Unlimited content libraries: Libraries organize content for each Facebook account, making it easy to distinguish between content for profiles, pages, or groups.
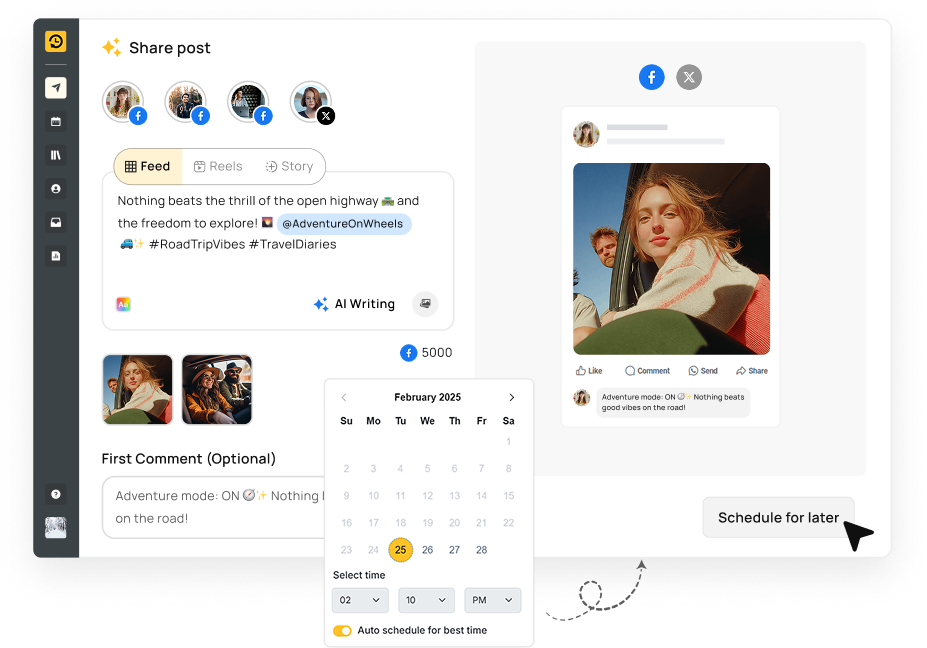
- Auto-schedule for the best time: This feature will let you post the right content at the right time on your Facebook accounts. Simply select the option of โAuto-schedule for best timeโ while scheduling a post. RecurPost will then study the engagement received on your previous posts and automatically schedule your content for the best time.
- Schedule repeating posts: By utilizing the feature to schedule Facebook recurring posts, you can enrich your content libraries and establish a recurring schedule. This approach automates the process, enabling the posts in your library to be shared in a loop across your social accounts, ensuring continuous engagement with your audience.
Schedule posts on Facebook groups as admin or member: RecurPost supports posting on a Facebook group that you administer as well on the groups that you are a member of, a feature not provided by any other facebook marketing tools.
Schedule Posts on Facebook Groups using RecurPost
Now that you know Why you should use RecurPost to schedule posts on Facebook groups, letโs get to the How part.RecurPost is the best Facebook group scheduler you can try your hands on.
1. Sign up for RecurPost and connect your Facebook accounts
No doubt, the first step will be to sign up for a RecurPost account. You just need to go to recurpost.com and create your account to start your free trial. Youโll only be required to enter your email address, and name, and start the 14-day trial to experience the journey of scheduling posts.
After creating your account, you will be taken to the dashboard. Here, you will see the button saying โAdd social accountsโ.
Click on it and a pop-up will appear. Under the Facebook section, there will be three options: Profile, Page, and Group.
Click on โAdd Groupโ and you will be taken to the login screen if you are not already logged in to your Facebook account from your browser.
The next screen will ask you to give certain permissions to RecurPost to post on your account. Donโt worry, no personal information or login credentials will be saved or used by RecurPost.
Click on โContinueโ and youโll be directed back to RecurPost, where you will see a list of all the groups that you administer and the ones that you are a member of.
Next, click on the โAddโ button and you will see a message like the one below.
This step is about adding the RecurPost app to your Facebook group, which enables RecurPost to schedule posts on your groups.
Click on the link given in Step 1 and you will be taken to the Facebook app store from where you can install the RecurPost app. Simply search for the app by typing in โRecur Postโ in the search bar, and click on the result that appears.
A pop-up will appear upon clicking on the app.
Click on the โAddโ button and the RecurPost app will be added to your Facebook group.
Now come back to RecurPostโs tab and click on the link given in Step 3. It will verify that the app was installed successfully.
After clicking the link, you will get a verification message: “Your group has been successfully added. You can close this tab now and go back to the previous tab to continue adding more groups.โ
You can then continue adding groups to your RecurPost account.
Also, below each group name, you will see the option of โPost asโ. By default, youโll be posting from your profile. But, if you want to post as a page, you can do that too. To know how refer to this guide. Also, you can check how to change group name on Facebook.
2. Create a one-off post
RecurPostโs Facebook group scheduler lets you create one-off posts. A one-off post is an update that will be shared on your account just once. On the dashboard, click on the โShare a postโ button.
In the pop-up that appears, you can create your one-off post. Fill in all the details โ add description/caption, attach images/video or create a graphic directly from Canva, add hashtags, include emojis, and lastly select the Facebook group that you want to post on.
Now, you can either upload it instantly or use the Facebook post scheduler for a later date and time. To schedule, toggle the โSchedule for laterโ button on, and select the date and time as per your requirements. Alternatively, you can choose โAuto-schedule for best timeโ and let RecurPost find the best time to post on Facebook for you.
After adding all the details, your post will look something like this:
Hit the โscheduleโ button and youโre done.
3. Create content libraries
Libraries allow you to categorize your posts neatly into different spaces. Think of them as folders on your device. You can fill them up with awesome content and set a recurring schedule to make all that content go out in a loop on your Facebook group and other social accounts too.
To create a new library, go to the โRecurring Postsโ menu and click on the โAdd new libraryโ button.
While creating a new library, you will be required to set three things: The name of the library, the color of the library, and whether it will be a one-time use or recurring library. Keep in mind that the updates you add in a one-time-use library are not recurring in nature and will expire once posted on your social accounts.
4. Add content in libraries
Click on the name of the library that you wish to add content to and start automatically posting to the Facebook groups. Inside the library, you will find a lot of options to add recurring updates. You can add a single update, add images/text/link posts in bulk, add content through a CSV/excel file, import content from a social account, or set up an RSS feed.
For updates in your library, you can also select whether you want to keep them as drafts until a certain date. These updates will be on standby until their โrelease dateโ.
After the release date, they will start going out to your social accounts according to your schedule.
You can also choose to make these updates stop going out to your social accounts after a certain โexpiry dateโ. After the expiry date, your update will expire and will go to a separate content library named โExpired Contentโ.
If you want a post to go out next before any other post from a library, you can click on the โMake it the next post to go outโ button.
5. Add recurring schedules
After adding content in libraries, you need to set a recurring schedule so that the added posts start going out on your social accounts. Go to your library and navigate to the โRecurring time slotsโ tab, and click on the โAdd recurring time slotsโ button.
Here, you can set the frequency at which the posts added to your library will be uploaded to your Facebook group. Choose an option between weekly or monthly cycles, set the time, and hit the โAdd Time Slotโ button.
Thatโs all! You now know how you can schedule posts on Facebook groups using RecurPost!
Schedule Posts as a Page While Scheduling One-Off Facebook Group Posts
RecurPostโs Facebook group post scheduler provides you with the feature of automating posts on your Facebook group both from profiles and pages. By default, youโll be posting from your profile. But, if you want to post as a page, you can do that too.
Letโs see how you can schedule a one-off Facebook group post as a page.
The first step would be to connect your Facebook page to your RecurPost account. Follow the same steps as you did for adding the Facebook group.
Now, remember that to post on a Facebook Group as a member using RecurPost, there are 3 prerequisites:
- The admin of the Facebook Group must have installed the RecurPost app in the group.
- The admin must allow group members to post.
- The Facebook Page from which youโll be scheduling posts should be a member of the Group.
After youโve added the Facebook page to RecurPost, follow the below steps to create a one-off post:
Click on the โShare a Postโ button on your dashboard.
A pop-up window will appear where you can start creating your post. First, select the Facebook group on which you want to post. Then, type in the caption, add images and enter all the details of your post.
Next, click on the button on the top right saying โCustomize for each platformโ.
After clicking on it, you will be able to see the social icon of Facebook along with the โOriginalโ post tab.
Click on the Facebook icon.
As soon as you click on it, you will be able to see the option of โPost on Facebook groups asโ, By default, it will show โThe profile that added the group.โ
You can click on this drop-down and the name of your Facebook page will appear in the menu. Simply select the Facebook page from which you want to schedule the post.
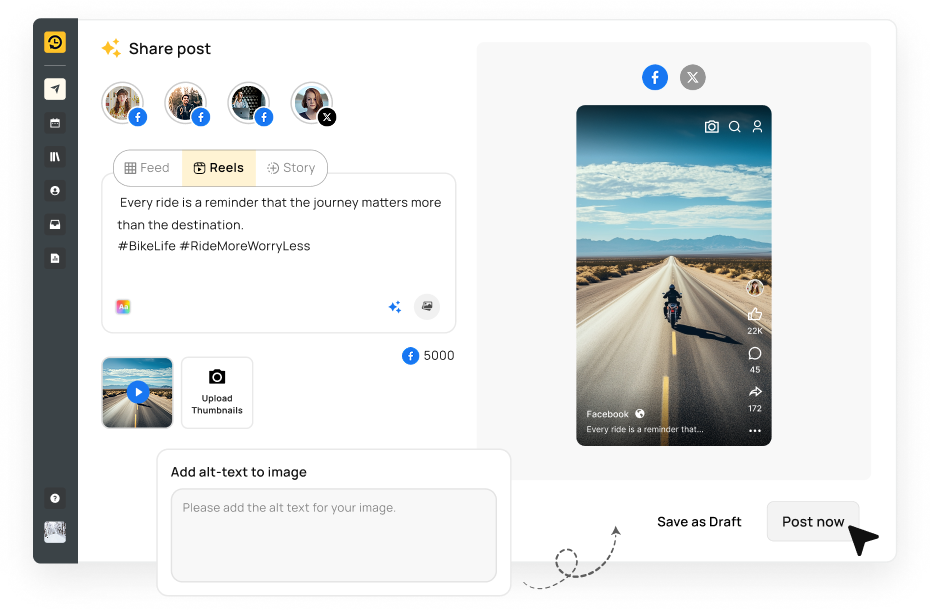
Next, you can either post it right away by clicking on the โPost Nowโ button or toggle the โSchedule for laterโ button to set a date and time for your post to go live.
Schedule Multiple Posts on Facebook Group
To schedule multiple posts on Facebook groups using RecurPost, follow the below steps:
- Login to your RecurPost account and navigate to the โRecurring postsโ section. Here, you can create one-time use or recurring libraries.
- To schedule posts in bulk, either create a new library or go to an existing one as per your requirements. Inside the library, you will see the option of โAdd content in bulkโ.
- Select the option and you will see the space to create multiple posts at a time. You can either Type or paste multiple posts, one per line, or upload multiple images from your device and then customize their captions.
- After adding your updates, you can generate the preview, add them to the library, and set a recurring schedule.
- And, if you are wondering how to post to multiple groups on Facebook, you can do that too using RecurPost.
Additionally, if you’re interested in learning how to schedule multiple posts on Facebook, you can check out our guide.
How to See Scheduled Posts on Facebook Group
If you have scheduled a post on the Facebook group using RecurPost, you will be able to see it on the dashboard in the โQueueโ section. If you have set a recurring schedule, you can view the posts that are about to go out next in the library itself.
Go to the library for which you have set a schedule. The post thatโs about to be published next will be labeled as โNext to be scheduled onโ along with the icon of your selected social accounts.
Here, you can edit your post and make other changes if you want by clicking on the three dots on the right side of the post. Click on the little eye icon to see the preview of how your post will appear after it is published.
If you have to see scheduled Facebook group posts natively, you can use the following steps to see and edit them:
- From your News Feed, click on โGroupsโ from the left menu and select your group. If you canโt see Groups, click โSee moreโ.
- Navigate to โScheduled Postsโ from the Admin tools menu on the left-hand side.
- Here youโll see all the posts that you have scheduled.
- Click on the three dots next to the post that you want to edit.
- Choose between Edit post, Delete post, Reschedule post, Post now, and other options available.
Edit Scheduled Posts on Facebook Group
In case you have scheduled Facebook group posts using RecurPost, follow the below steps to edit them:
- Go to the โRecurring Postsโ tab and select the library from which you want to edit a post.
- On the right side of the post that you want to edit, there will be an edit icon below the three dots. Click on it and the window will appear where you can edit your post.
- If you want to edit a one-off post, you can do that by going to the post from the Queue section on the dashboard.
Turn Off Scheduled Posts on Facebook Group
In case you have scheduled Facebook group posts using RecurPost, follow the below steps to turn off/delete them:
- Go to the โRecurring Postsโ tab and select the library from which you want to delete a post.
- Click on the three dots on the right side of the post you want to delete.
- A drop-down menu will appear.
- Select the option of โdeleteโ from the menu.
- A pop-up will appear asking for your confirmation. Click on โYes, delete itโ to remove the post from the library.
- You can also expire the post instead of deleting it and it will be moved to the โExpired postsโ section.
- If you want to delete a one-off post, you can do that by going to the post from the Queue section on the dashboard.
The other options to turn off posting include:
- Pause Social Account
- Pause Library
- Pause Queue
- Pause Subscription
If you have scheduled Facebook group posts natively, you can use the following steps to delete them:
- From your News Feed, click Groups in the left menu and select your group. If you canโt see Groups, click See more.
- Click Scheduled posts in the Admin tools menu on the left-hand side.
- Click the three dots next to the post that you want to delete.
- Select โDelete postโ and confirm.
Remove Scheduled Posts on Facebook Group
When you schedule posts on Facebook groups using RecurPost, you can remove them by following the below steps:
- Go to the โRecurring Postsโ tab and select the library from which you want to remove the post.
- On the right side of the post that you want to remove, there will be three dots. Click on it and a drop-down menu will appear. Click on the trash icon saying โdeleteโ. A prompt window will appear asking to confirm the deletion. Click on โYes, delete itโ to remove the post.
Also, you can check how to delete a Facebook group in quick easy steps.
And thatโs a wrap!
Scheduling posts on Facebook groups is an effective way to engage with your audience and save time as a group admin or member. While Facebook does allow you to natively schedule posts in groups, the functionality is limited. Using a dedicated social media management platform like RecurPost unlocks more robust scheduling capabilities.
RecurPost eliminates the frustrations of Facebook’s native scheduling and provides group admins and members greater control and efficiency in managing content. For anyone running multiple Facebook groups, it’s an invaluable tool for saving time while keeping groups more active.
Frequently Asked Questions
You can schedule Facebook group posts natively on Facebook, but there are limitations. For multiple posts or posting on multiple groups, you need a tool like RecurPost. It lets you schedule on groups you manage and are a member of, including posting as a page without admin access.
Sometimes, the scheduling option randomly turns on and off for Facebook pages. You can report the issue here. Also, if you are no longer an admin of the group, you will get the option to schedule a post natively.
There is no official limit on the number of posts that can be scheduled on Facebook group. It will depend on the social media scheduler that youโre using for scheduling posts. You can use RecurPost as it enables scheduling monthsโ worth of content in advance.
To turn off scheduled posts on a Facebook group, an admin can go to the group’s settings, select “Post Approval,” and toggle off the option for “Schedule Posts.”
To find a specific post in a Facebook group, you can use the search bar at the top of the group page and type in keywords related to the post, or you can scroll through the group’s posts and look for it manually.
To schedule multiple posts on a Facebook group, you can use the scheduling feature offered by RecurPost, where you can select multiple posts and schedule them at once, as long as you are an admin or editor of the group.
For posting in Facebook groups, only admins and editors have access.
To view scheduled group posts on Facebook, click on the “More” button on the group’s main page, then select “Scheduled Posts.”
Click your Page’s profile picture in the top right, then click Meta Business Suite. Click Planner in the left menu and find the post that you want to edit on the calendar and click it. Then click on the three dots to edit or delete your scheduled group posts on Facebook.
To share a post in all Facebook groups at once, you can use a Facebook group post scheduler such as RecurPost to automate the process.
You can use RecurPost’s app to schedule Facebook group posts, edit, and manage them on the go.
Dr. Dinesh Agarwal is a research scientist turned entrepreneur. He is fascinated with the social media world and has been working in the industry since 2013, where he built his first social media management tool that got acquired a few years later. He likes sharing his experience on podcasts, conferences and via his articles.