Scheduling Facebook and Instagram posts is an essential strategy in today’s digital landscape. In a world where social media platforms like Facebook and Instagram serve as critical marketing tools, maintaining a constant presence in the digital space is crucial for broadening one’s reach.
Consistency in posting is the surest way of retaining the attention of your audience and expanding your network. While it is possible to manage several social media pages, it can, in some instances, prove to be hectic and stressful. This is where scheduled Facebook and Instagram posts become important.
Setting up times for publishing on Facebook and Instagram will make sure that there is a steady flow of relevant posts across platforms. As such, it saves you time and effort while enabling you to stay on-brand and communicate with your consumers when they are most receptive.
Everybody should be able to time-schedule posts, whether you are a business owner, a social media expert, or anyone else who needs to leverage their online profile.
How to schedule Facebook and Instagram posts on Meta Business Suite
Handling both Facebook and Instagram can be streamlined by utilizing the cross-platform scheduling feature provided by Facebook Meta Business Suite.
This integrated tool allows you to schedule Instagram posts from Facebook, making the process of managing both social media platforms more efficient and convenient. With this feature, you can maintain a consistent online presence on both Facebook and Instagram, ensuring your content reaches a wider audience while saving you time and effort.
This seamless integration simplifies your social media management, enhancing your ability to engage with your audience and expand your digital reach.
Schedule Facebook and Instagram POSTS simultaneously
1. Open Meta Business Suite homepage and click on the “Create Post” option.
2. Craft your post and under “Post to”, select both Facebook and Instagram.
3. You can add whatever image, video, text, or use template. There are some additional features that can be used as well, like, activity, location, get messages, remove Instagram placement, preview link, emojis and hashtags.
4.You can tailor the post for each platform by clicking on “Customize for each platform” if needed.
5. Instead of clicking “Publish”, select “Schedule Post” to pick a future date and time for your post to go live on both platforms.[Best Times to Post on Instagram and Facebook]
6. Once you click on “Schedule”, you’ll be redirected to the Planner where you can see your scheduled posts.
With cross-platform scheduling, managing your social media presence becomes a seamless task, ensuring consistency across the platforms while saving precious time.
Schedule Facebook and Instagram STORIES simultaneously
1. Go to the Meta Business Suite and click on the “Create Story” option.
2. Create your post and under “Post to”, select both Facebook and Instagram.
3. Feel free add whatever image, video, text, or use template. You can upload up to 10 images and videos on the story.
4. Instead of clicking “Share now”, select the tab next to it saying “Schedule” to pick a future date and time for your story to go live on both platforms.
5. After you click on “Schedule”, you’ll be redirected to the Planner where you can see your scheduled story.
Note: Stories remain visible on your account for 24 hours, but you can archive them to save and reuse if you’d like.
Explore further : 8 Best Apps for Planning Instagram-Create, Curate and Conquer
Schedule Facebook and Instagram REELS simultaneously
1. Head to the Meta Business Suite and click on the “Create Reel” option.
2. Fashion your reel and under “Share to”, select both Facebook and Instagram if you wish to share the same reel on both the platforms.
3. Whatever videos that you’d like to include can be added at this point of time. You can upload up to 3 videos in it. Once you’re done with it, you can click on ‘Next’.
4. Edit the audio and video in whatever way appeals to you best. After completing it, click on ‘Next’.
5. Upon clicking on next, you’ll be redirected to a new page. Below the options create, edit and share; you’ll see three options namely share now, schedule and save as draft. Select ‘Schedule’, set the date and time of the reel, and when you’re done, click on ‘Schedule’.
6. Upon clicking on “Schedule”, you’ll be redirected to the ‘Content’ page where you can see all your scheduled reels, posts and stories.
Schedule Facebook and Instagram post on Instagram Native App
- Open your Instagram account, on the dashboard you’ll see 5 options towards the bottom, select the + sign, which is the third option in the horizontal line.
- Select all the images that you want to upload in your post. Also craft a compelling caption and add hashtags and location to enhance your visibility.
- After your post or reel is ready, on the last page where there is the option to share on the bottom, you will see multiple options as you scroll down like add location, tag people, boost post, and much more.
- As you scroll down to the end, the last option would be ‘Advanced settings’, select the option.
- Before you select the option of “Schedule this post” that is on the top-most of all the options, turn on the option of automatic sharing on Facebook so that the post can be shared on both Facebook as well as Instagram.
6. When you click on it, its sub-options will open, there on the top will be the option to schedule a post, namely “Schedule this post”.
7. Upon clicking on it, a pop-up window will open with date and time options. Select the date and time for which you want to schedule the post and then click on ‘done’.
Scheduling your Instagram posts in this manner ensures that your content reaches your audience at the right times, fostering better engagement and keeping your Instagram feed lively and engaging.
Note: The Instagram native app does not yet have the feature to schedule stories for Instagram or Facebook account.
Schedule Facebook and Instagram post on Facebook Native App
- In order to cross-schedule a Facebook as well as Instagram post from your Facebook account, open your Facebook page or profile and click on the tab ‘Write something’. However, in order for this to work, it is crucial that you turn on the professional mode.
- Select all the images that you want to upload in your post. Also craft a compelling caption and add hashtags and location to enhance your visibility. Once you’re done with the same, you’ll see there are 4 different tabs below your name tab namely, Friends, Album, On and AI label off (it could also be saying ‘off’ if you’ve never turned the setting on before). Select the ‘on’ option of them all.
- As the new pop-up window opens, you’ll se a tab saying ‘Sharing consistency’ as you click on it, a new pop-up window will open.
- As the new pop-up window opens, you can set the sharing consistency of the post according to whether you want to cross-schedule the future posts as well or just that particular post.
- You can then move forward and you’ll see an option below ‘Who can see your post’ namely ‘scheduling options’, which you shall select.
- Select the date and time that you want to schedule the post for, and when done, continue forward.
6. As you click on ‘post’, your post will be scheduled for both, your Facebook and Instagram accounts; and will be uploaded on the selected time.
Explore our comprehensive guide on scheduling posts, creating reels, and sharing stories using the Facebook native app. Master your social media strategy today!
Scheduling your Instagram posts in this manner ensures that your content reaches your audience at the right times, fostering better engagement and keeping your Instagram feed lively and engaging.
Note: The Facebook native app does not yet have the feature to schedule the story.
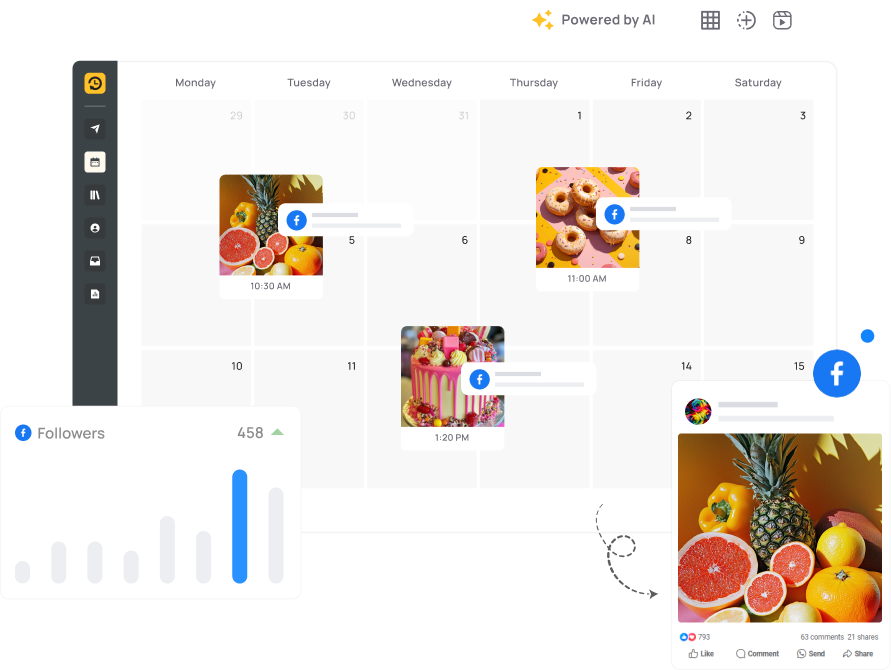
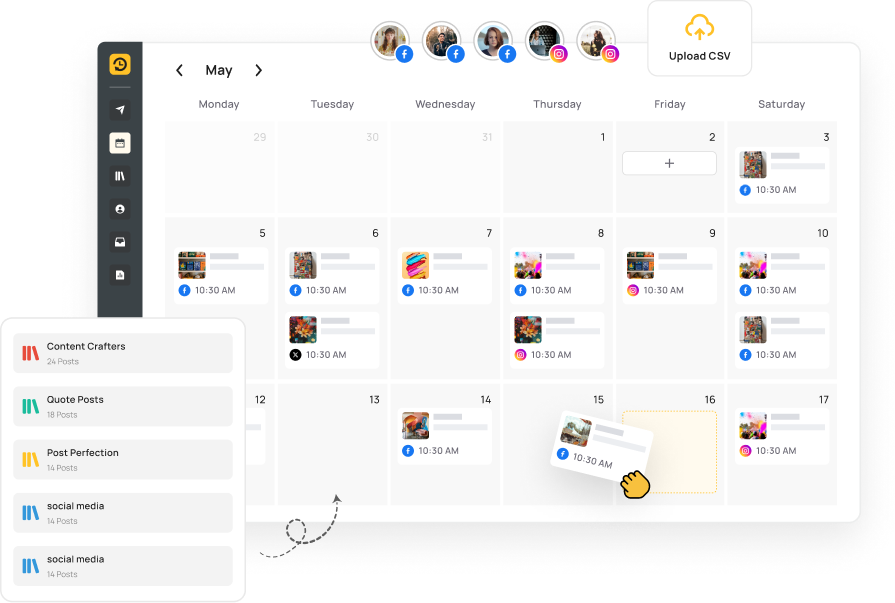
RecurPost: Facebook and Instagram post scheduler
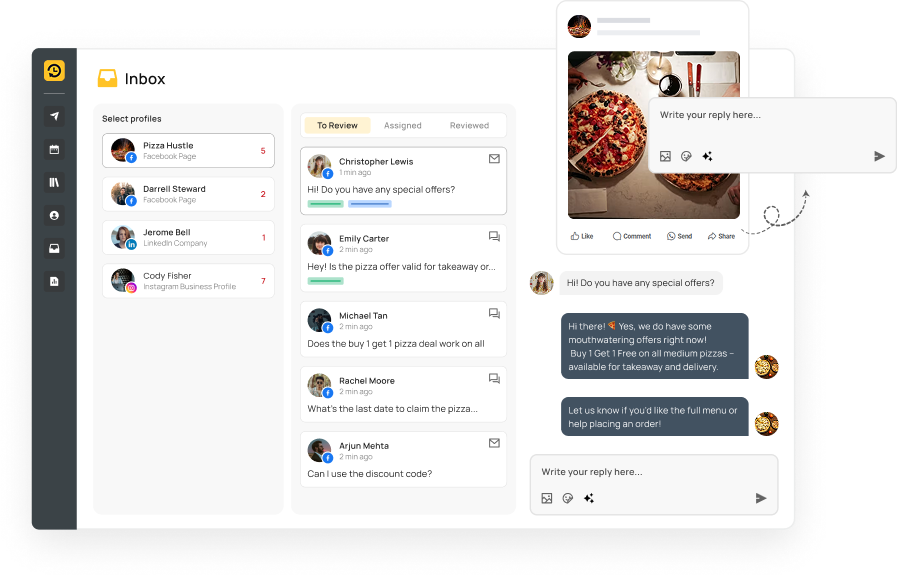
For those seeking additional features or a different user interface, RecurPost offers a viable alternative to schedule Facebook and Instagram posts.
The biggest advantage that most users have benefitted is that with RecurPost you can schedule multiple posts on Facebook and Instagram.
How to schedule a post for Instagram and Facebook simultaneously from RecurPost
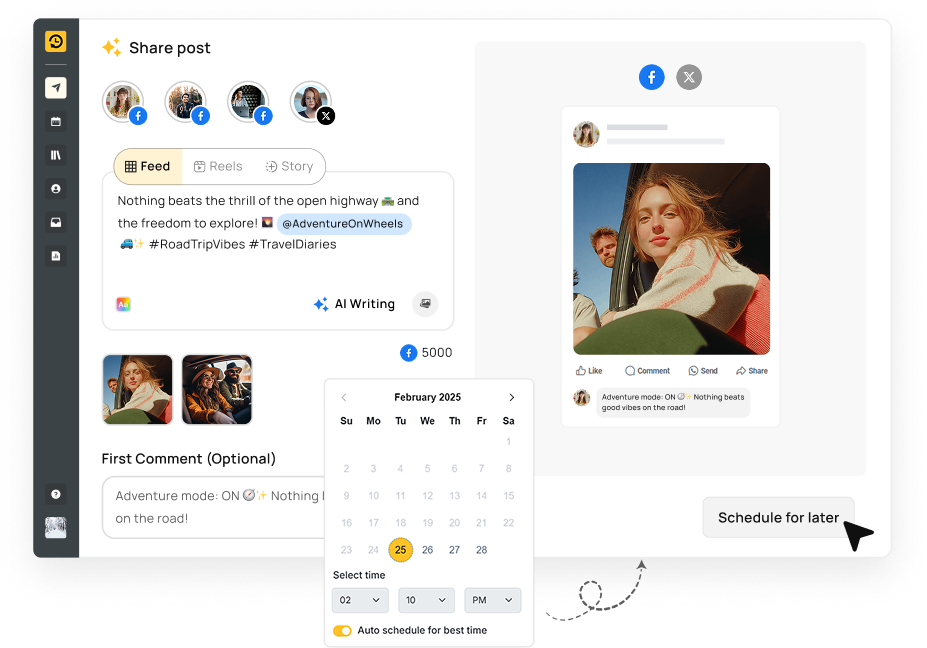
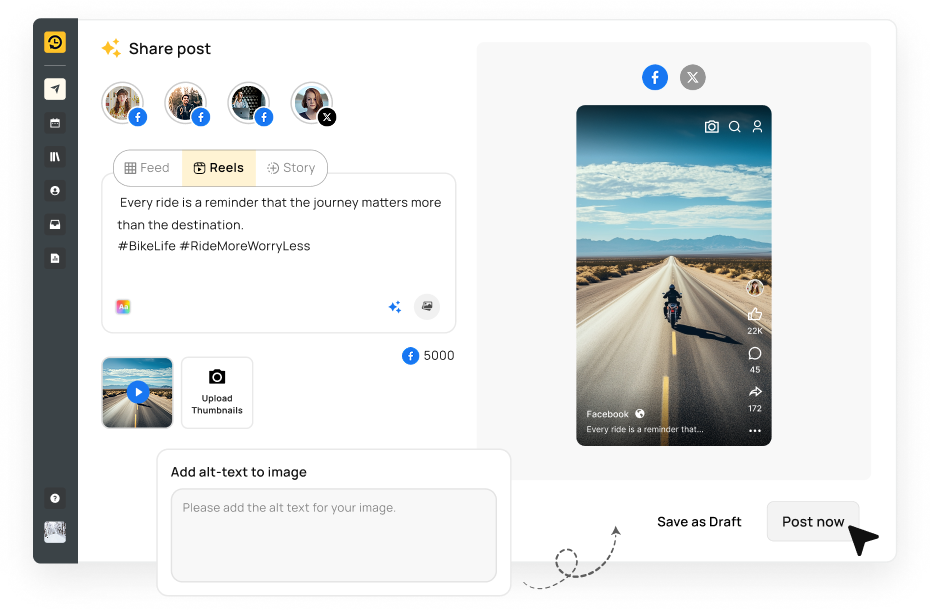
- In order to schedule a post on RecurPost, you can select the tab ‘Share a post‘ on the top in the dashboard of RecurPost.
2. As you do so, a new pop-up window will open, you can upload the video that you’ll like to post and then select the accounts that you wish to post it to. Once you’re done with the same, you can preview the post, and make all the necessary adjustments.
3. You’ll see the option for ‘Schedule for later‘, it is right below the option of ‘Make this a recurring post as well’, select your preferable timings and fill in other details and then click on “Schedule“
RecurPost is a robust tool that not only schedules your posts but also aids in better engagement and analysis of your social media performance. And the most amazing part is that it is so much simpler to use with an array of more features than the native app.
How to manage posts on Facebook and Instagram
While cross-scheduling Facebook and Instagram makes the job a lot easier, there are always times when you might have second thoughts about a post after scheduling it. But do not worry, for we’ve got you covered on how to manage your scheduled posts or edit them whenever the need be!
How to edit a scheduled post on Meta Business Suite
- If you want to re-edit, reschedule or delete the scheduled post, you can go to the Planner and click on the scheduled post that is to be updated.
2. Once you do so, a pop-up window will open with 3 horizontal dots on top right.
3. Upon clicking on it; you’ll come across 5 options namely, edit post, duplicate post, reschedule post, move to drafts, and delete post. Select whichever option is applicable for your situation.
How to edit a scheduled post on Instagram native app
- If you wish to edit, reschedule or delete the post, you can go to your profile and click on the three horizontal lines on top right.
- Once it opens, again you will see a lot of options and tools like saved, archived, insights and much more. Upon scrolling down a little more, you will see an option of ‘Scheduled content’ below ‘Insights’.
- When you click on it, you will see all the posts that are yet to be posted according to your scheduled time and date.
- Click on the three dots towards the right of the posts that you want to click on it and you will see 4 options; Edit post, Reschedule, Share now, and Delete.
- Click on whichever option you wish to go for and that will be it!
How to edit a scheduled post on Facebook native app
- If you wish to edit, reschedule or delete the post, you can go to your profile and click on the ‘Professional dashboard’ among all the other tabs.
- Once it opens, again you will see a lot of options and tools like ‘Review your public profile details’, ‘Review audience settings’ and so much more.
- As you scroll down, you’ll come across Calendar, underneath which you’ll see your scheduled post under the date that you’ve scheduled it for. And on the far right of that post’s tab, you’ll see three horizontal dots.
- As you do so, a pop-up window with multiple options will open like, save video, cast video, delete post, edit post and so much more. Click on whichever option is most applicable for your situation and make the changes accordingly.
How to edit a scheduled post on RecurPost
- If you wish to edit, reschedule, preview or delete the post, you will find your scheduled post on the dashboard itself in the calendar.
2. Below the tab namely “One-off posts”, there are three different option to preview, edit and delete the post. You can choose whichever option solves your purpose.
3. RecurPost gives you multiple edit options even at this point of time, and also the option to preview, add whatever you wish to and then simply click on ‘Save’ and you’re all done!
RecurPost is a robust tool that not only schedules your posts but also aids in better engagement and analysis of your social media performance.
Conclusion
Social media is fun, but for someone who creates and posts content, it can turn exasperating pretty soon, especially when attempting to keep up with the latest trends and also keep the content fresh and new for both Facebook as well as Instagram, all at once! A content calendar app can simplify this process, helping you stay organized and ahead of the curve.
This is exactly where the three ways that we mentioned above to schedule Facebook and Instagram posts through Meta Business Suite, Instagram Native App and RecurPost come in handy. As you embark on this scheduling journey, the benefits of saved time, consistent engagement, and enhanced content management await. Embrace scheduling and witness a transformative ease in your social media endeavors.
Frequently Asked Questions (FAQs)
Yes, when you schedule Facebook and Instagram posts, you have the flexibility to choose different posting times for each platform, allowing for a tailored approach to engage your audience on both platforms.
Utilizing the analytics features in Facebook Business Suite or RecurPost, you can track the engagement and overall performance of your scheduled posts.
Absolutely! Both platforms allow for long-term scheduling, making it feasible to schedule Facebook and Instagram posts for an entire month or even longer, aiding in better content management.
Yes, to schedule posts on Facebook and Instagram through the Facebook Business Suite, you would need a business account. Similarly, to utilize RecurPost or other third-party scheduling tools, a business account is typically required to access the scheduling features.
It is not possible to schedule or cross-platform schedule stories on Facebook and Instagram, however you can use Meta Business Suite for it, but you shall have a business or professional account in order to use it. You can also use third-party applications with advanced features if that is not possible.
Debbie Moran is a Digital marketing strategist with 5+ years of experience producing advertising for brands and helping leaders showcase their brand to the correct audience. She has been a part of RecurPost since 2019 and handles all the activities required to grow our brand’s online presence.