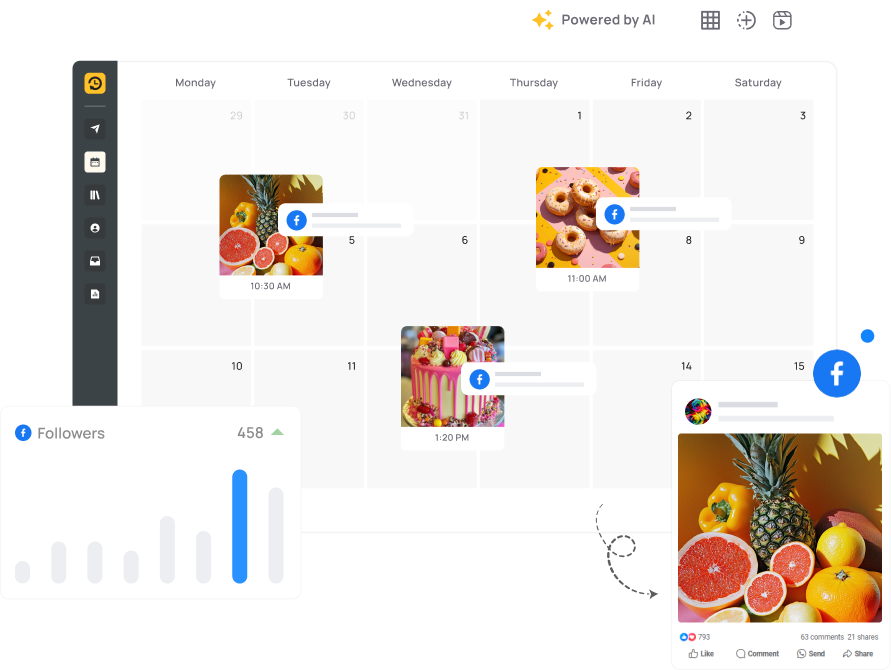
Scheduling a post on Facebook in advance is a powerful solution for small business owners facing the challenge of finding time to post when their audience is most active. This strategy ensures your content reaches your audience at the right time, even when you’re tied up with other tasks.
It helps you stay on top of your social media game without missing out on important events or timely news. By utilizing this method of how to post on Facebook, you can maintain a consistent presence on your page, which is crucial for building stronger relationships with your audience and increasing brand awareness and customer engagement.
In this guide we will explore the best way to schedule Facebook posts. There are two methods: (i) Facebook Native App, (ii) Meta Business suite Tool, and (iii) Third party Tools. Whether you’re a small business owner or a social media manager, mastering these techniques can save you time and boost your Facebook engagement.
At the end of the blog, you will be capable of answering how to schedule posts on Facebook in various public and professional modes via web and application.
Method 1: How to Schedule Facebook Posts on Page/Groups Using the Facebook Native App
The Facebook app only allows page owners full access and the ability to post from the native app. Owners can give access to others as managers to post from the account. However, Facebook will automatically redirect you to Meta Business Suite, if you are using web to schedule posts. This setting is same for Facebook page owners and managers.
Schedule Facebook Posts Via App
1. Navigate to Your Page
- Tap on the three horizontal lines (menu) in the bottom right corner.
- Select “Pages” and choose your Page.
2. Create a New Post
- Tap on “Create Post” at the top of your Page. Choose your choice of format.
- Write your content and add photos, videos, or links.
3.Schedule the Post
- Tap on the calendar icon or the “Scheduling options” after that “Schedule for later”.
- Select the date and time you want the post to be published.
4. Confirm Scheduling
- Tap “Schedule” again to confirm.
- Your post is now scheduled and will be published at the chosen time.
5. Managing Schedule Posts
- Click on the “Professional Dashboard” option > Select the “Creation” option.
- You will see the list of scheduled posts and choose the one you plan to edit.
Limitations:
- Account managers need to use Meta Business Suite to post content.
Method 2: How to Schedule Facebook Posts on Page/Groups Using Meta Business Suite
You can schedule Facebook posts for free using the Meta Business Suite, a tool officially provided by Facebook that offers excellent functionality across both desktop and mobile platforms. For desktop users, navigate to the Meta Business Suite website, and for mobile users, download the Meta Business Suite app from the Android or iOS app store.
This method ensures seamless Scheduling Facebook posts capabilities, whether you are at your desk or on the move, making it an efficient solution for managing your Facebook Page’s content.
Let’s walk through how to schedule future Facebook updates.
Schedule Facebook Posts Via Website
1. Access Meta Business Suite on Website
- Go to business.facebook.com and ensure your pages are linked
- Click Planner in the left menu.
2. Create a New Post
- Compose post content (text, images, links) as normal
- Toggle to the “Publish” button to adjust the scheduling
- Additionally, check out our guides on scheduling Facebook Live, Facebook Reels, and Facebook group posts.
3. Set Custom Schedule
- Choose the desired publishing date and best time to post on Facebook
- Posts can be scheduled up to 30 days in advance
Note: You can set posts to go live anywhere from 20 minutes to 29 days in the future.
4. Confirm and Schedule
- Preview the post and set privacy settings
- Click the schedule button to confirm
If you are unable to schedule a post on Facebook, you can browse through our blog Why can’t I schedule posts on Facebook for clarity.
5. Managing Scheduled Posts:
What if you change your mind? Easy!
- In the ‘Scheduled Posts‘ section, you can find all your upcoming posts.
- Click on any post to edit, delete, or reschedule it. It’s flexible and user-friendly.
Recommended resource: For a comprehensive guide on troubleshooting issues with Facebook scheduled posts, check out in detail here.
Schedule Facebook Posts Via App
1. Download and Open the App: First, make sure you have the Meta Business Suite app installed on your Android or iOS device. Open the app and log in using your Facebook credentials.
2. Navigate to ‘Posts & Stories’: Once logged in, tap on the ‘Posts & Stories’ option. This is where you can manage all your content.
3. Create a Post: Tap on the ‘Create Post’ button. Here, you can start composing your post. Add text, images, or videos as needed.
4. Schedule the Post: After composing your post, instead of tapping ‘Publish’, look for a small clock icon or an option that says ‘Schedule’. Tap on this to set a future date and time for your post to go live.
5. Set Date and Time: Select the exact date and time you want your post to be published. The scheduling tool allows you to plan posts up to several months in advance.
6. Confirm and Schedule: Review your scheduled time and content, then tap on ‘Schedule’ to finalize the posting time.
7. Manage Scheduled Posts: You can view and edit your scheduled posts anytime by returning to the ‘Posts & Stories’ section and tapping on ‘Planned Posts’.
For a detailed guide on scheduling posts directly within the Facebook app, check out our blog post on Schedule Post on Facebook App.
Benefits of Business Suite Scheduling:
- Seamless management for Facebook alongside Instagram
- Easy-to-use integrated interface
- Analyze best posting times using Page/group Insights
Limitations:
- Cannot schedule posts more than 30 days in advance
- Limited to basic post formats like image, text, or link posts
- Lacks robust analytics of third-party schedulers
Recommended resource: For a detailed, step-by-step guide on scheduling Facebook posts using the android/ iOS app, check out descriptive guide here.
Method 3: Facebook Scheduling Tools(Third-party Tools)
The native scheduling tools are a convenient option for scheduling posts because it’s directly integrated with Facebook. Hence, it ensures reliability and stability. Facebook scheduling tools also provide detailed analytics, tailored specifically for the platform and allow you to measure post performance with accuracy. Consequently, there is no requirement to manage third-party app permissions or manage compatibility issues.
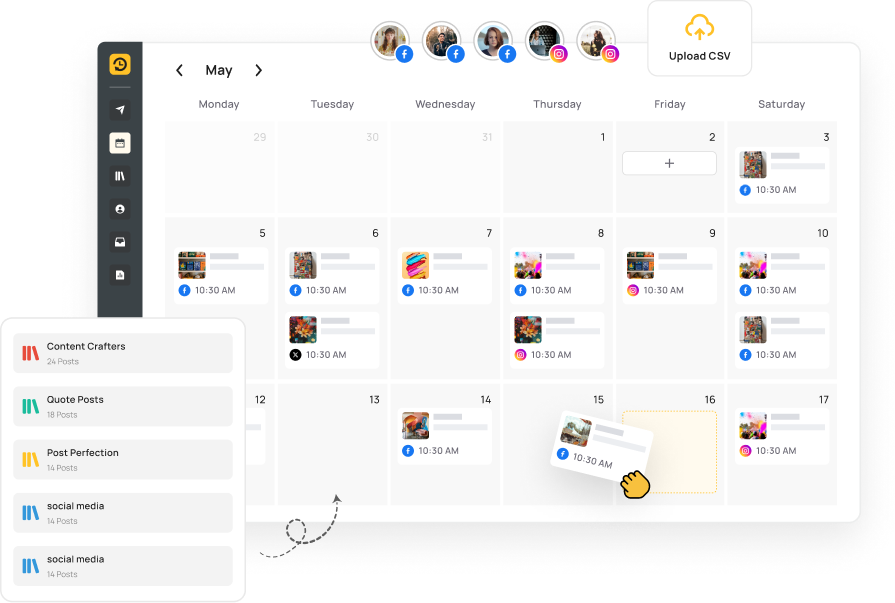
Here’s how you can use one of the tools- RecurPost to schedule a post on Facebook:
Schedule Facebook Posts Via Third-party Website-RecurPost
1. Connect Facebook Account
- Add the Facebook Page/group you want to schedule posts for in RecurPost’s dashboard.
- You can select multiple Facebook Pages, Groups, or Personal Profile.
2. Create Content
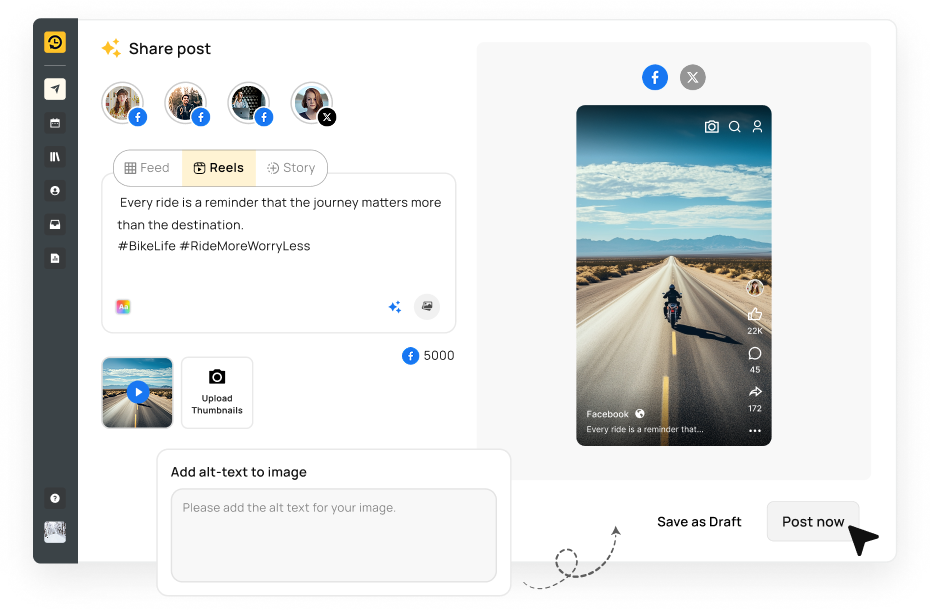
- Write updates or upload visual content.
- Select the Social accounts where you want to post.
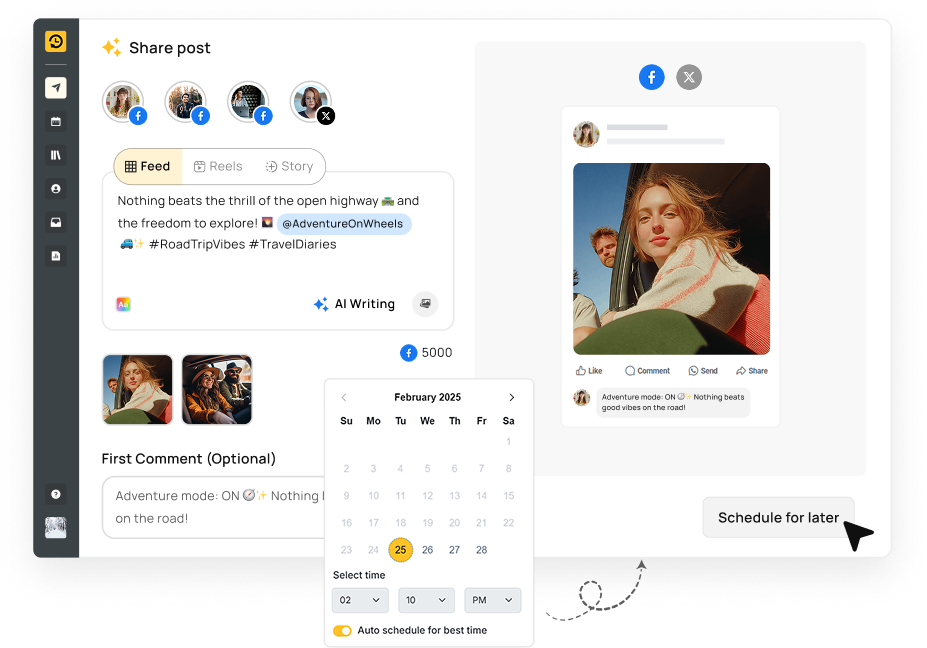
3. Customize Post Schedule
- Select individual publish dates/times or set up recurring schedules.
- You can opt for Auto-schedule for the best time feature powered by AI.
4. Monitor Performance
- Utilize RecurPost’s analytics on engagement and the best times to post.
- You can even download the customized report using your Logo.
Key features of RecurPost:
- Bulk upload and schedule unlimited updates
- Manage multiple social media accounts, groups and pages
- Use data insights to refine the posting strategy
- Collaborate with a content team
- Access expanded media formats like carousel posts
Benefits vs Meta Business Suite:
- Post variety:e.g. videos, carousel posts, live broadcasts
- More advanced analytics and comparison tools
- Content libraries for organization
- Team member workflow management
Scheduling Posts on Different Facebook Account Types
Facebook offers different features for different types of accounts such as business pages, personal accounts, and groups. Each has its own way of scheduling posts, and understanding these can help you manage your Facebook presence more effectively.
1. How to Schedule Post on Facebook Page:
- Using Meta Business Suite: As discussed earlier, Meta Business Suite is ideal for scheduling posts on your business page. Simply go to your page, access the suite, create your post, and schedule it for the desired time.
- Using Third-Party Tools: These tools are also great for business pages. After connecting your page to the tool, you can schedule posts in the same way you would for your personal accounts.
2. How to Schedule Post on Personal Facebook:
- Facebook’s Native App: Directly scheduling posts is not possible anymore due to Facebook’s API restrictions. However, you can use third-party tools like RecurPost to plan and queue posts.
- Using Third-Party Tools: Scheduling Facebook posts on your personal account can be a bit tricky, but with RecurPost, it’s manageable. Here’s our post in detail on how you can schedule posts on Facebook Personal Accounts.
3. How to Schedule Facebook Posts in Groups:
- Directly on Facebook: If you’re an admin or moderator of a Facebook group, scheduling posts is straightforward. While creating a post within the group, look for the small clock icon (schedule button) in the post box. Click it to set the time and date for the post to be published.
- Third-Party Tools: These tools can also be used for scheduling posts on Facebook groups where you have admin or moderator privileges. The process is similar to scheduling posts for pages.
Schedule Facebook group posts using the Meta app or third-party scheduler tools with our step-by-step guide here.
4. How to Schedule Post on Facebook Professional Mode
- Directly on Facebook: If you’ve enabled Professional Mode on your profile, scheduling posts is simple. While creating a post on your profile, look for the small clock icon (schedule button) in the post box. Click it to set the time and date for the post to be published.
- Third-Party Tools: RecurPost and other scheduling tools offer similar functionalities. They allow you to connect your Facebook Page, create posts, and schedule them to go live at specific times, making content management easy and efficient.
Remember, while scheduling is a powerful tool, keeping your content fresh and relevant is important. Regularly updating your strategy based on audience engagement and feedback is key to maintaining an effective online presence.
How to Edit Scheduled Posts on Facebook Mobile
To edit scheduled posts on Facebook using a mobile device, follow these steps:
- Open the Meta Business Suite App: Download and open the Meta Business Suite app on your Android or iOS device.
- Go to ‘Planned Posts’: Once you’re in the app, navigate to the ‘Posts & Stories’ section. Here, you will see a tab for ‘Planned Posts’ which lists all your scheduled content.
- Select the Post to Edit: Tap on the scheduled post you want to edit.
- Edit Your Post: After selecting the post, you will be able to edit the text, change images, or adjust the scheduled time and date as needed.
- Save Changes: Once you’ve made your changes, make sure to save them. You might see an option to ‘Save’ or ‘Update Post’ depending on the app version.
- Confirm: The app will typically ask for confirmation that you want to save the updated post. Confirm to ensure your changes are set.
How to View Scheduled Posts Facebook Mobile
To view scheduled posts on Facebook using a mobile device, follow these steps using the Meta Business Suite app, which allows you to manage your content efficiently:
- Open the Meta Business Suite App: Download and launch the Meta Business Suite app on your Android or iOS device. Make sure you’re logged into the account associated with the Facebook Page you manage.
- Navigate to Posts: Once in the app, tap on the ‘Posts & Stories’ option. This section is dedicated to managing your content.
- Access Scheduled Posts: Look for a tab or section labeled ‘Planned’ or ‘Scheduled Posts’. This area will display a list of all posts you have scheduled.
- Browse Your Scheduled Posts: In the ‘Scheduled Posts’ section, you can view all the details of your posts that are queued to go live at future dates and times.
Comparative Analysis
When it comes to scheduling Facebook posts, you have two main options: using Meta Business Suite or opting for third-party tools. Each has its own set of features, usability, and advantages.
Let’s break it down and also look at scenarios where one might be preferred over the other.
Feature/Tools | Meta Business Suite | RecurPost |
Platform Support | Facebook and Instagram Only | Multiple platforms (including Facebook, Instagram, Twitter, LinkedIn, Youtube, Tiktok, Pinterest, and Google My Business) |
Advance Scheduling Limit | 30 days | No limit, you can schedule for years |
User Interface | Directly integrated into Facebook, familiar to Facebook users | Separate interface, very easy to learn for beginners |
Analytics and Insights | Basic insights specific to Facebook and Instagram | Comprehensive analytics across all connected platforms |
Bulk Scheduling | Not available | Available with CSV import option |
Mobile App Availability | Yes, there is a separate app for the Meta Business Suite | Yes, from one app you can schedule for all platforms |
Cross-Platform Posting | Not possible | Possible and streamlined |
Additional Features | None | Content library, custom workflows, team collaboration |
Cost | Free | Free and paid plans, depending on the features needed |
Choose Meta Business Suite if:
- You’re a busy professional or casual user with basic scheduling needs.
- You only manage Facebook and Instagram.
- You prefer a free and simple interface.
Choose Third-Party Tools if:
- You manage multiple social media platforms.
- You need advanced scheduling features and analytics.
- You want to optimize your content strategy with data-driven insights.
- You work in a team and need collaboration tools.
The ideal tool depends on your needs and budget. Both options have their strengths, and understanding these can help you make the best choice for your Facebook posting strategy.
Best Practices for Scheduling Facebook Posts
Effectively scheduling your Facebook posts is more than just about timing; it’s about maintaining a consistent and engaging presence. Here are some best practices to ensure your scheduled posts deliver the maximum impact:
1. Maintain Brand Consistency:
- Voice and Tone: Ensure that every post reflects your brand’s voice and tone. Whether your brand is serious, playful, informative, or inspiring, consistency in your communication builds trust with your audience.
- Visuals: Use consistent colors, fonts, and themes that align with your brand. This visual consistency makes your posts instantly recognizable in your audience’s news feed.
- Message: Keep your core message consistent. Whether you’re promoting products, sharing insights, or engaging with trends, the underlying message should align with your brand values and goals.
2. Choosing the Right Publication Date and Time:
- Understand Your Audience: Analyze when your audience is most active. Tools like Facebook Insights provide valuable data on your audience’s peak activity times.
- Consider Time Zones: If your audience is global, consider different time zones to maximize engagement.
- Test and Learn: Experiment with different posting times and days to see what works best. Use the data from these tests to inform your future scheduling.
Scheduling your posts on Facebook is a powerful way to maintain a consistent presence, but timing is crucial to maximizing your reach. Understanding how Facebook’s algorithm influences what content gets seen can help you make the most out of your scheduled posts. For more insights, be sure to read our detailed guide on How Facebook Algorithm Works.
3. Pausing or Editing Posts in Response to Current Events:
- Stay Informed: Be aware of current events and trends. Review your scheduled posts in sensitive times to ensure they are still appropriate.
- Quickly Adapt: Don’t hesitate to pause, edit, or delete scheduled posts that might be considered insensitive or irrelevant in light of new developments.
Remember, scheduling posts is about more than just automation; it’s about strategically planning your content to resonate with your audience while staying true to your brand. By following these best practices, you can effectively leverage scheduled posts to boost your Facebook strategy.
When scheduling Facebook posts, it’s crucial to double-check for any errors in the content or timing to ensure optimal engagement. For more insights on scheduling posts and troubleshooting common errors, check out our guide on “Why Can’t I Schedule Posts”. Understanding the nuances of scheduling can help streamline your content strategy and maximize your reach on Facebook.
Conclusion
To wrap up, a Facebook post scheduler is key to maintaining a strong social media presence. Whether using Meta Business Suite or third-party tools, each option offers unique advantages to suit different needs. Remember to stay consistent with your brand, choose the right times to post, and be ready to adapt to current events. Choose the tool that aligns best with your goals and audience, and watch your Facebook engagement grow.
You may also read: Automated Facebook Posting
FAQs
Facebook doesn’t support direct scheduling for personal accounts. You can use Facebook’s Publishing Tools or third-party apps for Pages and Groups, or save posts as drafts for personal timelines.
Yes, you can Facebook’s Publishing Tools or third-party scheduling apps. However, direct scheduling isn’t available for personal profiles.
Yes, you can edit a post after it’s been scheduled on Facebook. Whether you’re using Meta Business Suite or a third-party tool, there is usually an option to edit, reschedule, or even delete the scheduled post before it goes live.
You can schedule Facebook posts up to 30 days in advance. However, third-party scheduling tools may offer longer scheduling windows, sometimes several months/years ahead, depending on the specific tool you are using.
It could be because of issues like incorrect scheduling time, privacy settings, or a glitch in Facebook’s system.
To view your scheduled posts on Facebook, go to your page and access the ‘Publishing Tools’ section. Here, you’ll find a ‘Scheduled Posts’ tab where all your upcoming posts are listed.
Yes, you can schedule posts on Facebook with multiple images or videos. When creating a post, you can add multiple media files before scheduling.
Facebook does not typically send a notification when a scheduled post goes live. However, you can check the status of your posts in the ‘Scheduled Posts’ section.
Debbie Moran is a Digital marketing strategist with 5+ years of experience producing advertising for brands and helping leaders showcase their brand to the correct audience. She has been a part of RecurPost since 2019 and handles all the activities required to grow our brand’s online presence.