Skip to content

How to Schedule YouTube Videos

How to Schedule YouTube Videos

Table of Contents

Starting a YouTube channel is an exciting journey. It’s a platform that you can use to share your passion, creativity, and knowledge with the global community. Yet, being a YouTuber just starting or a person thinking about starting a channel, there is a lot to know. One key feature to get a handle on is scheduling YouTube videos. This means deciding when your videos should go live on your channel, without having to be at your computer to hit the publish button yourself. It’s like setting an alarm clock for your videos!

Why is this so important? Well, it keeps you on schedule. Some of you might be juggling your academic life, job, or other personal activities. An ideal way to keep the YouTube channel running is to schedule videos. It will make sure it comes up even when you’re busy with other tasks. Not only that but it also lets you choose the best time for your videos to go live when most of your followers are online. This small step can really boost your channel’s growth. 

Let’s get started exploring how scheduling can help you save time, grow your channel, and reach more viewers on YouTube!

Can you Schedule YouTube Videos?

Absolutely! Scheduling your videos on YouTube is not only possible but also very easy. There are two main ways to do this: by using YouTube’s platform itself or with the use of third-party tools like RecurPost.

First off, YouTube’s native app itself offers the option to schedule your videos. This means that you can upload a video and decide what time you want it to be published. Super easy to use right there on YouTube.

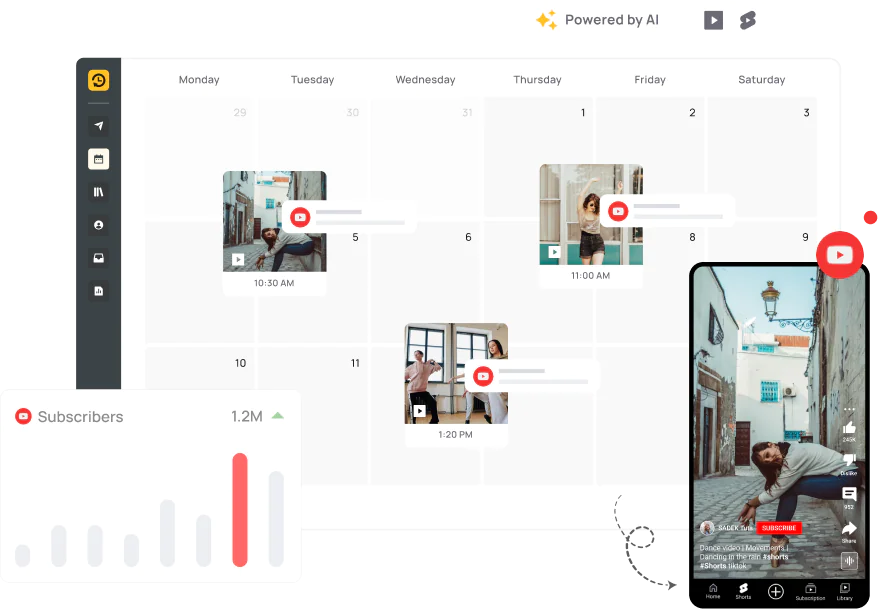
Then, there’s RecurPost, a third-party tool that offers even more flexibility. RecurPost allows you to post across all social media platforms and YouTube from a single platform. It’s very helpful when you’re managing multiple platforms and need a bird’s eye view of your content calendar.

They both have their merits, depending on your needs. If you’re focused only on YouTube, native scheduling available on YouTube might be all you need. However, if you are promoting your content all over the web, RecurPost could be a real breakthrough.

Check out our comprehensive guide on How to Schedule YouTube Shorts for step-by-step instructions and valuable insights into optimizing your Shorts strategy.

How to Schedule YouTube Videos Desktop

Scheduling your YouTube videos becomes easy when you know the steps to follow. Let’s break down how to do it directly on YouTube first. This method is perfect for those who want to keep things simple and use the tools YouTube provides.

1. Schedule Videos directly on YouTube

Step 1: Sign-in

First, log into your YouTube studio account. This is your starting point for all things YouTube, including uploading and scheduling your videos. If you have a new account, the first step is to create a channel.

Step 2: Upload Video

You will be able to see a camera icon with a “+” sign, which is often found to the right side of the YouTube homepage, and click on it to choose “Upload video”. This will lead to the upload screen where you have to select the video file that you want to upload.

Before uploading a video, ensure it meets the required specifications, including video resolution, aspect ratios, and adheres to supported YouTube file formats for optimal playback.

Step 3: Add the Details

After the video is published you will fill in the details like the video title, description, and tags. These are important, as they are the ways to attract viewers to your video. Make sure to use keywords that describe your video well.

For more information, please review YouTube’s Community Guidelines.

Step 4: Schedule

After you’ve completed all the fields, you will get the option to either publish your video immediately or schedule it for a later date and time. How simple, just hit the “Schedule” button, select the date and time you want your video to go live and you are done!

The in-app scheduling option provided by YouTube makes it a popular choice for many creators as they can conveniently plan content releases using the platform themselves. It is a clear and simple process that ensures your video goes live at exactly the right moment, you don’t even have to be online to hit that “publish” button. This is an awesome technique to keep your channel active and encourage your viewers.

In the process of scheduling YouTube videos, encountering errors is not uncommon. From technical glitches to formatting inconsistencies, these issues can disrupt the smooth publication of your content. Stay tuned as we explore our comprehensive guide, where we’ll tackle common YouTube publishing errors and offer practical solutions to ensure your scheduled videos are successfully published.

2. Schedule Video on Android & iPhone Mobile

For those of you who are always on the go or prefer your smartphone, YouTube has you covered. You can upload and schedule your recorded videos right on your mobile device via the YouTube application. Here’s how you can do it:

Step 1: Open the YouTube App

Start by opening the YouTube app on your phone. Log in to the account where you wish to upload and schedule your video.

Step 2: Click on the “+” Icon

Look for the “+” button, which is usually found on the lower-central part of your screen inside the app. Tap on it and select “Upload a video.” This will let you pick a video file from your smartphone.

Step 3: Fill Out the Details

Next, you will be taken to a page where you can enter information like your video’s title, description, and tags. These details are key to the viewers finding your content, therefore be careful and prepare well.

Step 4: Schedule

In the same spot where you enter your video details, you will also find the ability to post it now or schedule it for a later date. Just click on “Scheduled”, choose the date and time you need, and you’re done. The video will then be automatically published on your channel at the time you’ve chosen.

Mobile scheduling is very handy, especially for creators who like engaging with their YouTube channel on the phone or the go. Thanks to this, you can keep your channel up-to-date no matter where you are and interact with your viewers consistently.

3. Schedule Videos through Third-Party Tools: RecurPost

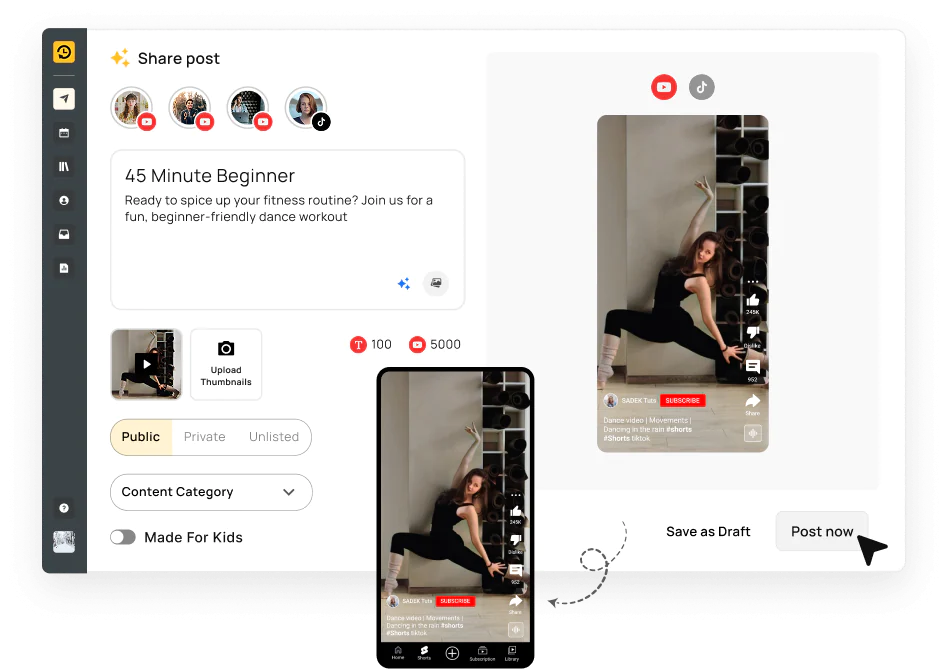
Third-party tools such as RecurPost are essential if you are running several social media accounts or looking for an all-in-one YouTube scheduling tool. With RecurPost you schedule your YouTube videos that are posted along with other platforms from one dashboard. Here’s how you can use RecurPost to schedule your YouTube videos:

Step 1: Open the Dashboard in RecurPost

First log in to your RecurPost account. As soon as you log in, you will be guided to the dashboard. This is where all your scheduling occurs.

Step 2: Select the Account and Upload the Video

In the dashboard, select the YouTube account where you want to upload your video. Next, go for the “Upload Video” option and choose the file from your system.

Step 3: Fill Out All Details

After uploading, you will need to fill in the video details. This comprises of the title, description, tags, and any other necessary information that will rank your video for the search and viewer engagement.

Step 4: Schedule

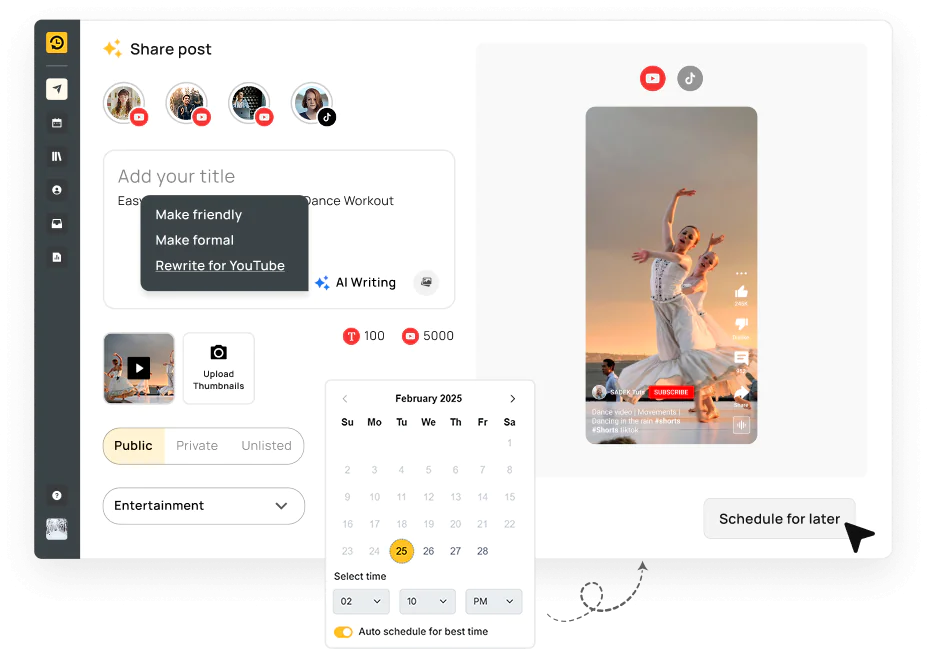
Once your video is uploaded and the details filled up, the next step is to schedule. RecurPost has a scheduling tool that enables you to choose the date and time for your video to be posted. It also offers a “Best Time to Post” feature powered by AI.

Utilizing a tool such as RecurPost is perfect for creators who are dedicated to content planning and cross-platform management. Not only does it simplify the scheduling but also gives you a bird’s eye view of your content strategy making it easier to maintain consistency and grow your audience across different social media platforms.

How to edit a schedule Video on Youtube

After you have uploaded and scheduled your YouTube video, you may find the need to correct or change it. You can make changes whether it is a typo in the title, some problem with the description, or editing the video itself and YouTube makes it very easy to edit your scheduled video before it goes live. Here’s how you can do it:

Step 1: Open YouTube Studio

Start by clicking on YouTube and log in with your account. After you have logged in, find YouTube Studio by clicking on your profile icon at the top right corner and choosing the “YouTube Studio” option from the drop-down menu.

Step 2: Go to the Content Tab

At YouTube Studio, there is a menu to the left, displayed on the navigation panel. Choose “Content” to see a list of all your videos, including those that are live, private, unlisted or scheduled.

Step 3: Hover Over the Scheduled Video and Go to the Editor

Find the video you’ve scheduled and want to edit. Hover your mouse over it, and the options will pop up. If you look through the “Details” tab (it can be an icon that looks like a pencil) and click on it then you will get into the details of the video. Then, click “Editor” in the menu to the left. This is where you can make changes to the video itself.

Step 4: Make the Changes and Save It

Once in the Editor, you can trim your video, add or remove sections, and adjust various elements of your content. If you are making changes to the title, description, or tags, just go to the “Details” tab and do so there. Once you have entered all your changes, don’t forget to hit “Save” to apply your changes.

YouTube offers an easy way to edit your scheduled video so that you can make sure your audience receives your content exactly as you want it. This flexibility enables last-minute changes and your video will be polished and professional when it is time to go live.

How to Delete a Scheduled Video on YouTube

  1. Go to your YouTube Studio dashboard.
  2. Click on “Content” in the left sidebar.
  3. Find the scheduled video you want to delete.
  4. Hover over the video and click the three-dot menu icon.
  5. Select “Delete forever” from the menu options.
  6. Confirm the deletion when prompted.


Discover the efficient process of deleting multiple videos simultaneously through effective bulk deletion methods on YouTube.

Comparing YouTube Native Scheduling with Third-Party Tools

FeatureYouTube Native SchedulingRecurPost
Scheduling OptionsAllows the scheduling of videos directly within the YouTube platform.Offers scheduling for YouTube videos as well as other social media platforms.
User InterfaceStraightforward integrated into the YouTube Studio.User-friendly with a dashboard that manages multiple platforms.
Multi-account ManagementYouTube’s native scheduling only works for the logged-in accountRecurPost allows managing multiple YouTube accounts
Content CalenderNo calendar view for scheduled videos. Comprehensive content calendar that shows all scheduled posts across different platforms, including YouTube.
Bulk SchedulingNot directly supported; videos must be scheduled individually.Supports bulk scheduling through the Library, allowing users to plan and schedule multiple videos at once.
AnalyticsProvides detailed analytics within YouTube Studio.Offers basic analytics that can compare performance across different platforms, not just YouTube.
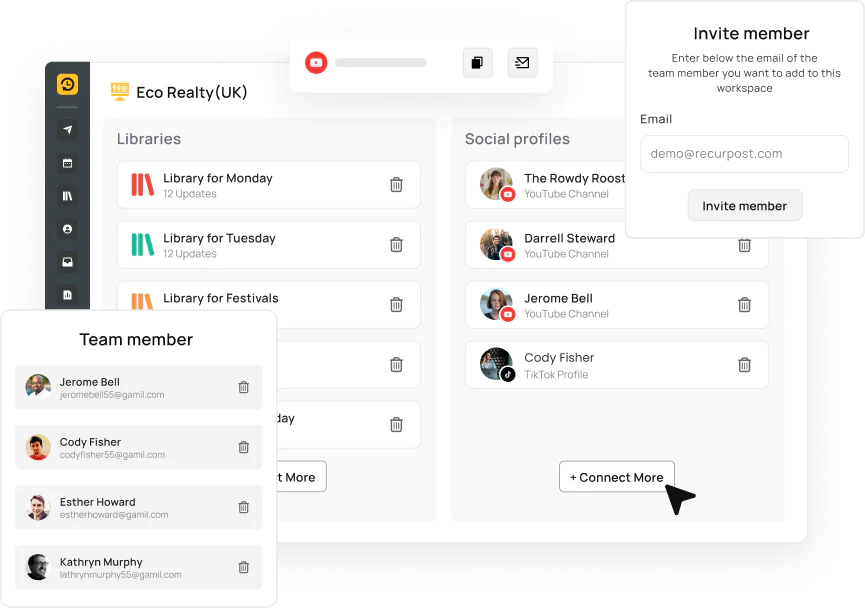
Collaboration FeaturesLimited to users with access to the same YouTube account.Allows team collaboration, with features for assigning roles and managing permissions for different team members.
Recurring PostsDoes not support the scheduling of recurring videos.Allows for the scheduling of recurring posts, making it easier to repost popular content according to a set schedule.
CostFree for all YouTube content creators.You can use it for free with 14 14-day free trial.

Leveraging YouTube Analytics

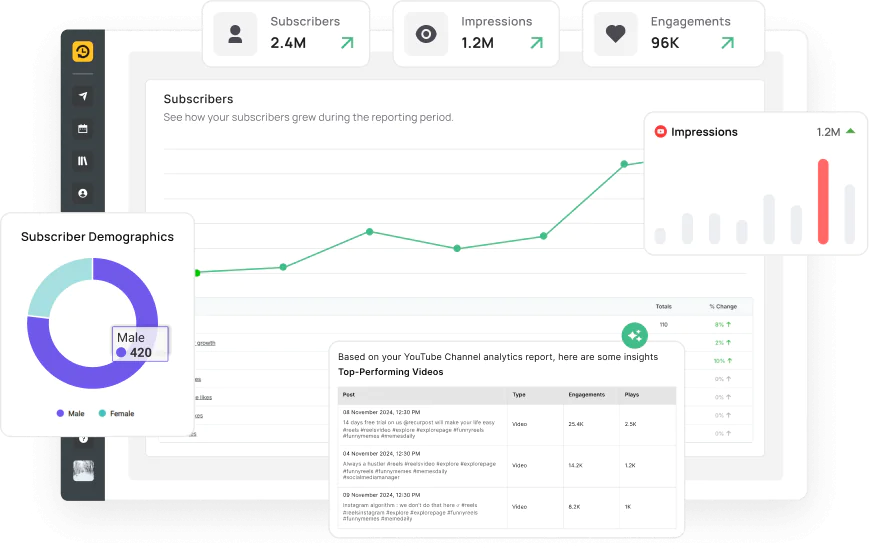
Understanding how your YouTube videos perform is important for channel growth. This is where YouTube Analytics is most effective. It is a great tool that not only shows you what is working and what is not but also helps you to make wise choices about your content strategies. Here’s how you can make the most out of YouTube Analytics:

Importance of Tracking Video Performance

Monitoring your video performance lets you understand how the audience is interacting with your content. Are they seeing the whole video? Where is that appearing from? This knowledge is very important and helps you know your audience and make the videos better to draw people back.

Key YouTube Metrics to Monitor

  • Views: Understanding how many views your video has gives you a lot of information about its popularity and outreach.
  • Average View Duration: This is representative of how long viewers are staying on your video. It shows you if your content is engaging enough to keep viewers watching.
  • Traffic Sources: Know where your viewers come from whether it is because of YouTube search, suggested videos, or other sources. This will help you in deciding what areas to focus on for your promotion.
  • Engagement: Likes, comments, and shares indicate how viewers are interacting with your video. More engagement often means your content resonates well with your audience.

Using Analytics to Refine Your Content Strategy

Using YouTube Analytics as a guide, you can customize your content to closely match what your audience responds best to. For instance, if you find out that videos on a certain topic have higher watch times, you should create more content around that topic. Alternatively, if you observe a lot of traffic coming from YouTube searches, try to improve your video titles, descriptions, and tags to rank better for related keywords.

YouTube Analytics is a data source that will help you understand your audience and how they interact with your videos. You will gain a better understanding of your strategy by checking these metrics regularly and creating more of what your audience loves to grow your YouTube channel.

Best Practices for Scheduling YouTube Videos

Considering the timing of your YouTube video posts will greatly impact your channel’s success and viewer interaction. Here are some best practices to ensure your scheduling strategy hits the mark:

Identifying the Best Times to Post

Knowing the best time to post on YouTube can help your videos gain more views quickly after posting. Go over the YouTube Analytics to find out when your followers are available. Identically, it is more effective to publish during the late afternoon or evening, when most people are relaxing after work; thus, the post will be watched during the peak viewing period.

Focusing on Quality Over Quantity

It’s easy to try to post lots of content but quality counts more. Great content (implemented in the right way) attracts your audience. It is more beneficial to upload one well-thought video per week compared to multiple videos that are poorly produced.

Adhering to Brand Guidelines

Video consistency helps you increase brand recognition on YouTube. This includes visual style, tone of your content, the way you interact with viewers in the comment section, etc. Ensure all videos you post follow your brand’s guidelines to retain the identity of your channel.

Creating a Content Calendar for YouTube

Even the most committed YouTuber needs a content calendar. It helps you to form your content strategy, organize ideas for videos, and make sure you post videos regularly. This way, you can work on videos proactively and thereby avoid last-minute rushes; you will be able to keep your content in line with seasonal or key events that are specific to your target audience.

Engaging with Your Audience Through Scheduled Posts

Engage with your audience through comment replies and requesting feedback, while also teasing content to come in your videos in the community tab. Scheduled posting releases this interaction to be strategically planned and handled when you’re offline.

By following these best practices, you can make scheduling an integral part of your YouTube strategy, helping you grow your channel and connect with your audience more effectively.

Conclusion

Scheduling YouTube videos is a game-changer for creators. Utilizing YouTube’s native scheduling or third-party apps like RecurPost allows you to easily plan and automate video uploads. 

Key benefits include maintaining a consistent pipeline of content, analyzing performance to refine your approach, and features like bulk scheduling and calendars to streamline workflows.

While it takes effort to develop a scheduling strategy, in the long run, it saves time and helps grow your channel. By scheduling videos to publish at the best times and automating as much as possible, you can see great results.

Start putting scheduling techniques into practice now to reach more viewers, free up your schedule, and take your YouTube channel to the next level!

Frequently Asked Questions

1. Can I schedule a video to go live at a specific time after uploading?

Yes, you can schedule a video to go live at a specific time after uploading. During the upload process on YouTube, you’ll have the option to set the video as “Scheduled” and select the date and time you want it to be published.

2. How far in advance can I schedule my YouTube videos?

YouTube allows you to schedule videos well in advance, even years ahead if needed. This feature is great for planning your content calendar and ensuring consistent uploads, regardless of your personal availability.

3. Is it possible to reschedule a video after I’ve already set a time?

Absolutely. If you need to change the scheduled time for a video, you can do so by going to YouTube Studio, finding the video under the “Content” tab, and adjusting the scheduled release time to your new preferred time.

4. Can I schedule a video from my phone, or do I need to use a computer?

You can schedule a video both from your phone and a computer. The YouTube mobile app allows you to upload and schedule videos just as you would on a desktop, offering great flexibility for content creators on the go.

5. How do I find and manage my scheduled videos?

To find and manage your scheduled videos, navigate to YouTube Studio and click on the “Content” tab. Here, you’ll see a list of all your videos, including those scheduled for future release. You can edit or change the schedule from this page.

6. Can I schedule a video to be private and then go public at a specific time?

Yes, you can initially set your video as private and schedule it to go public at a specific time. This allows you to prepare your video in advance, ensuring it’s perfect before the public sees it.

7. What happens if I need to edit a video after scheduling it?

If you need to edit a video after scheduling it, you can do so by going to YouTube Studio, selecting the video, and making your edits. You can change the title, description, thumbnail, and even the video itself through the Editor tab before it goes live.

8. How do I ensure my scheduled video reaches the maximum audience when it goes live?

To maximize your audience reach, consider the following:
   – Schedule your video to go live when your audience is most active, based on your YouTube Analytics.
   – Use compelling titles, descriptions, and thumbnails to attract viewers.
   – Promote your upcoming video on your social media and other channels.
   – Engage with your viewers through comments and the community tab to build anticipation.

Don't miss out on social media traffic!

No credit card required!