Pinterest is a visual discovery engine that can be a powerful marketing tool for businesses to promote their products and services. As a small business owner trying to save time while running marketing campaigns, learning how to schedule Pins is essential to streamline your Pinterest strategy. Yes, you can schedule Pinterest posts, and doing so allows you to plan and organize content efficiently.

Scheduling Pins in advance helps free up your time, allowing you to focus on other important tasks while keeping your Pinterest profile active by posting consistently. This ultimately boosts brand visibility and engagement.

In this article, I will walk you through everything you need to know about scheduling Pins step-by-step. You’ll learn the requirements for scheduling, different ways to schedule Pins on desktop and mobile, tips for creating engaging Pins, how to use analytics to optimize your strategy, and common mistakes to avoid.

So if you want to save time while taking your Pinterest marketing to the next level, read on to master scheduling like a pro!

Preparing to Schedule Pins on Pinterest

Account Type Needed:

Before you start scheduling Pinterest Pins, there are a few things you need to know. First, you need a Business Account. This is a must-have to schedule Posts directly on Pinterest.

If you’re using a personal account, don’t worry. You can still schedule your Pins, but you must use a third-party Pinterest scheduling tool.

Pinterest Content:

When it comes to the content you’re planning to schedule, both images and videos are good to go. Ensure they meet Pinterest’s media requirements, including:

  • Image File Format: JPEG, PNG, TIFF, or WEBP.
  • Video File Format: MP4, M4V, or MOV file types.
  • Aspect Ratio: Use a 2:3 aspect ratio (about 1000 x 1500 pixels) for vertical Pins. But, you can also use square (1:1) and horizontal (16:9) layouts.
  • File Size: Keep your image files under 20MB and your videos under 200MB which Pinterest recommends.

While meeting the requirements is essential, things like crafting engaging captions, using the right hashtags, and tailoring content to your audience also impact performance. So having a good grasp of the best practices of Pinterest and social media marketing helps optimize your scheduling strategy further.

Different ways to Schedule Pinterest Posts

1. How to Schedule Pins on Pinterest Desktop for Free

Here’s a step-by-step guide to schedule content on Pinterest native scheduler, right from your desktop.

Step 1: Access Business Account

Log in to your Pinterest Business Account. Remember, scheduling is only available for business accounts. Click on your profile icon in the top right and select “Business account” if you haven’t already switched.

Log in to your Pinterest Business account to schedule pins

Step 2: Create Pinterest Pin

Next, head over to the Create section, and click Create Pin from the drop-down menu. This is where your creativity comes into play.

Click "Create Pin" to design your next Pinterest post for schedule

Note: Many users wonder, “How many pins can you schedule on Pinterest?” While you can only schedule one Pin at a time through this method, Pinterest allows you to have up to 10 Pins scheduled for the future. This limit helps maintain a balance between planned content and spontaneous sharing, ensuring your Pinterest strategy remains dynamic and engaging.

Step 3: Upload Media and Fill the details

Now, it’s time to upload your images or videos. Make sure they look great and fill in all the details for your Pin, like the Pin’s title, a catchy pin description, and a destination link.

Upload media and fill in details, then schedule your pins

Step 4: Schedule your Pin

Once you are done, toggle “Publish later” on the bottom left and select a date and time you’d like your Pin to be visible on Pinterest up to 30 days in advance.

Schedule your Pins

By following these steps, you can easily schedule your Pins on free Pinterest scheduler using your desktop, keeping your account active and your audience engaged.

Note: Don’t worry if you need to make adjustments! Even after scheduling your Pin, you can edit the publish date, title, board, description, and link to ensure everything stays up-to-date. However, keep in mind that changes to the actual image or video content won’t be possible once scheduled.

2. How to Schedule Pins on Pinterest Mobile for Free

Even on the go, you can schedule Pins and maintain a consistent presence on Pinterest native scheduler. Here’s how to do it using your mobile app:

Step 1: Open the Pinterest App

Open the Pinterest app on your phone and log in to your business account.

open the pinterest app

Step 2: Create a new Pin

Tap the “plus” (+) icon in the bottom right corner and select “Create Pin”.

create a new pin

Step 3: Upload and Fill out details

Choose the image or video you want to schedule from your phone’s library. You can even edit your images by clicking on the Pencil icon at the top right of the image.

Add a pin title (less than 100 characters) and a pin description (up to 500 characters) that captures attention and uses relevant keywords. Include the website link you want viewers to visit.

upload and fill out details

Step 4: Schedule Pinterest Posts

Look for the “Publish later” option below the website link. Tap on it.

A calendar will appear. Select the date and time you want (up to 30 days in advance) your Pinterest posts to be published, similar to the desktop process.

schedule pinterest posts

Remember: Scheduling on mobile is nearly identical to scheduling on free Pinterest scheduler on desktop, offering flexibility and convenience for managing your Pinterest marketing strategy on the move.

3. How to Schedule Pins on RecurPost [Top Rated Pinterest Scheduler]

RecurPost is a popular pinterest scheduling tools that offers advanced scheduling and analytics capabilities for Pinterest. Here are the steps to schedule Pinterest Pins using RecurPost:

Step 1: Open the Dashboard

First, log in to your RecurPost account and go to the dashboard. Click “+ Add” if you haven’t linked your Pinterest account already. You can connect multiple Pinterest boards into the same account.

open recurpost dashboard

Step 2: Create your Post

Click on Share a Post from the dashboard, which will open a new window.

create your social media content on recurpost

Step 3: Upload and Add description

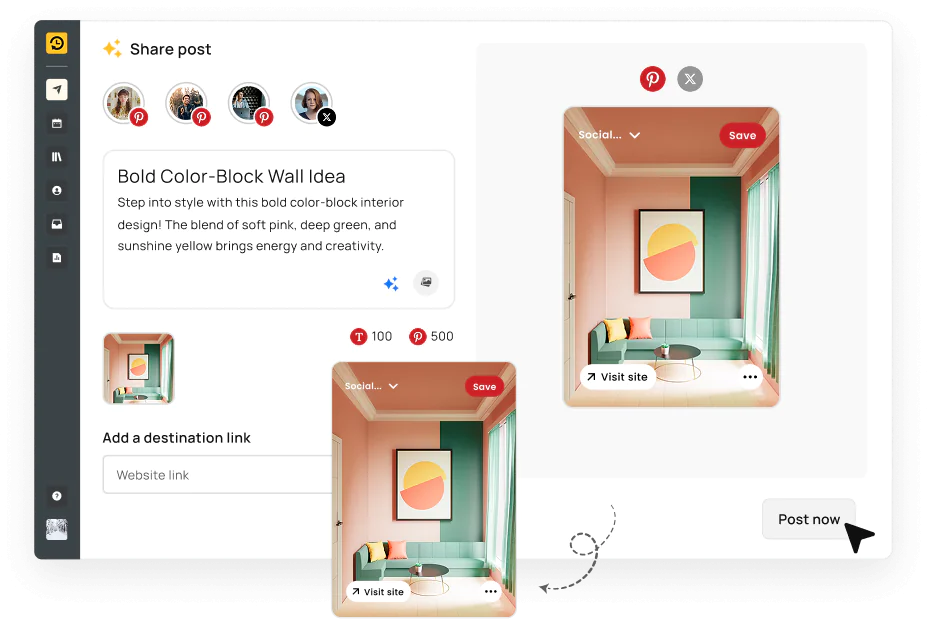
Craft a compelling description: Add details like a Pin title and description, including relevant keywords, and encourage viewers to visit your website by adding a destination link.

Attach your media: Select and upload the image or video you want to schedule from your computer or media library.

upload media and add description on recurpost

Step 4: Schedule Pinterest Pins

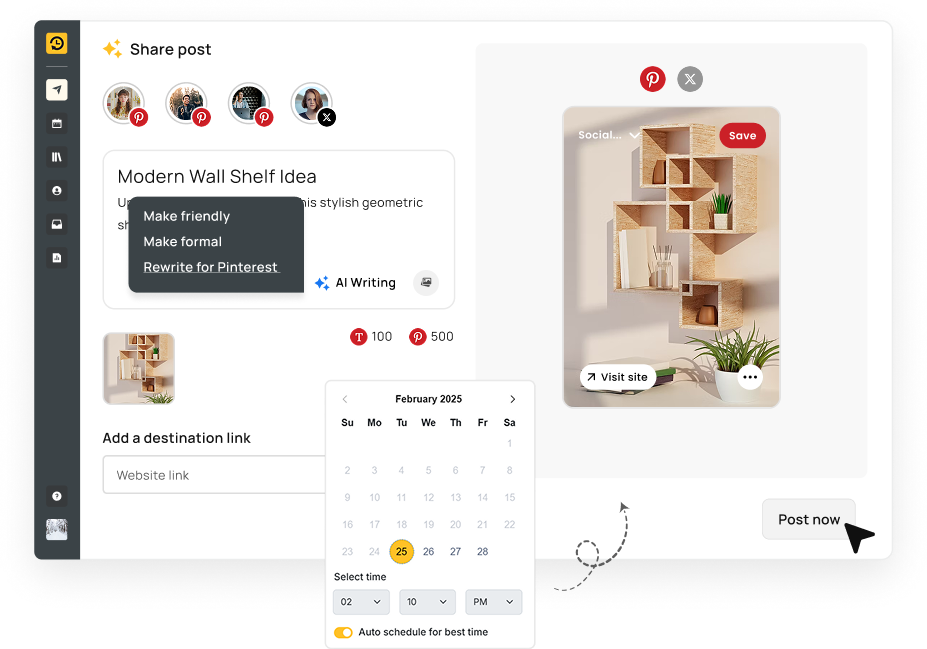
Click on “Schedule this for later”. A calendar will pop up, allowing you to choose the date and time for your Pin to be published on Pinterest.

schedule post through recurpost

Benefits of RecurPost:

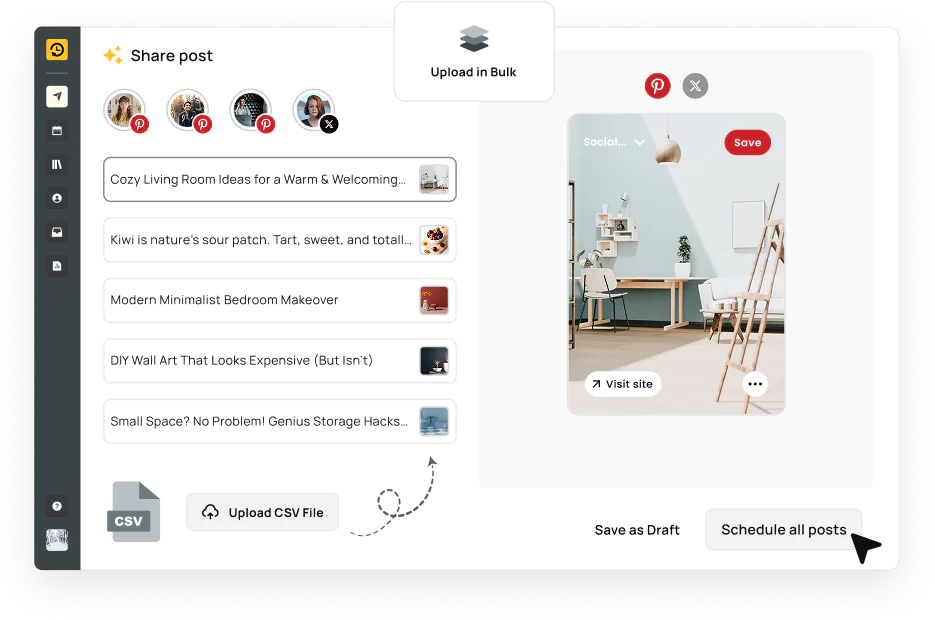
  • Bulk scheduling: Schedule multiple Pins simultaneously, saving time and effort.
  • Auto-schedule for the best time: ItsAI-based scheduler can schedule your pins for the best time.
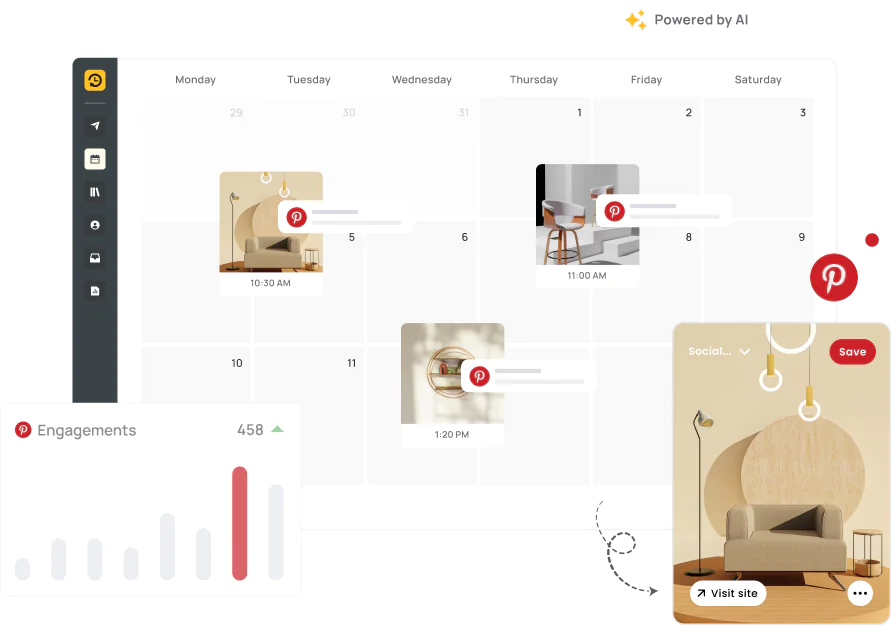
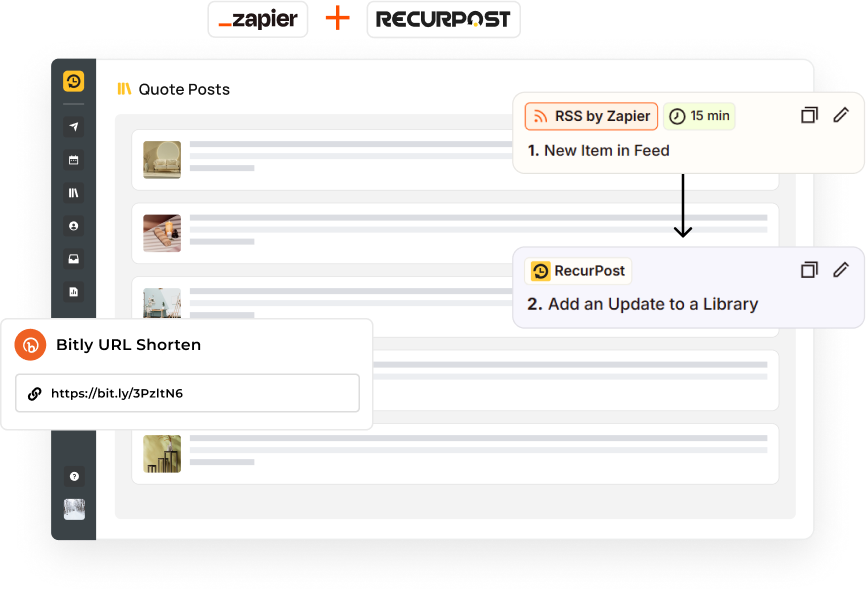
  • Content calendar: Manage your entire Pinterest content calendar within RecurPost, ensuring a consistent flow of content.
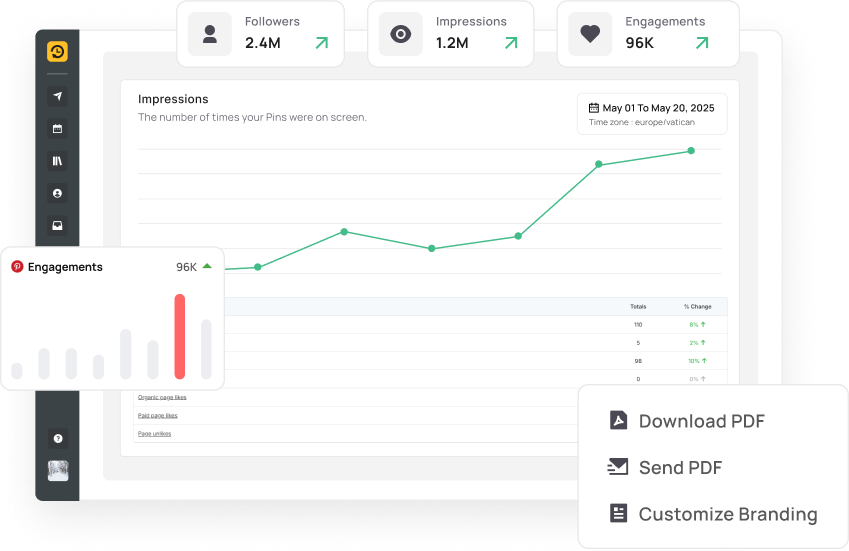
  • Analytics integration: Track the performance of your scheduled post and gain valuable insights.

RecurPost allows you to schedule unlimited Pins while taking advantage of its analytics to refine your Pinterest strategy further.

How often you should post on Pinterest? For ideal engagement on Pinterest, it’s recommended to post at least once a day. Consistency is key to maintaining visibility. For more detailed insights, check out our blog on the How Often to Post on Pinterest According to Different Industry Types.

How to See Your Scheduled Pins on Pinterest

Once you’ve scheduled your Pins, you might wonder where they all go and how you can keep track of them. Here’s a simple guide to viewing your scheduled Posts and making any necessary changes.

1. Go to the Profile Section: Start by heading to your profile icon on the top right of your Pinterest account.

go to profile section on pinterest

2. Click on Scheduled Pins: Look for the option labeled “Scheduled Pins.” This is your treasure chest, holding all the Pins you’ve planned for the future.

Look for the “Scheduled Pins” section on your profile. This is located under your Created Pins which is only visible to you.

click on scheduled pins below created tab

3. View and Manage the Pins: Click on “Scheduled Pins” to see a list of all your upcoming Pins. Here, you can:

  • View individual Pins: Open specific Pins to see their details, descriptions, and scheduled publish times.

You can perform several actions on your scheduled Pins:

  • How to edit scheduled pins on Pinterest:
    Click on a Pin to modify its details such as title, description, board, or publish date. Remember, you can’t change the image or video once a Pin is scheduled.
  • How to delete multiple pins on Pinterest:
    To remove scheduled Pins, select the ones you want to delete by clicking the checkbox next to each Pin. Then, click the “Delete” button that appears at the top of the page. This allows you to efficiently manage your content pipeline.
edit and manage post

4. Save the Pin After Editing: Once you’re happy with the changes, don’t forget to save them. This step locks in your edits, making sure your audience sees the Pin exactly as you want them to.

save the pin after editing

This easy process not only helps you stay organized but also ensures that your Pinterest strategy is executed flawlessly. Whether it’s a minor description change or adjusting the timing, you’re in full control of your scheduled Pins.

Making Use of Pinterest Analytics

Pinterest Analytics is a powerful tool that can significantly enhance your scheduling strategy. Here’s how you can use it to your advantage:

1. Refine Your Scheduling Strategy: By diving into Pinterest Analytics, you gain insights into what works best for your audience. This data allows you to tailor your Pin scheduling to times when your audience is most active, increasing your Pin’s visibility and engagement.

2. Identify the Best Times to Post: Analytics will show you when your Pins are getting the most interaction. This is crucial information. It helps you pinpoint the optimal times to schedule social media posts, ensuring they reach the maximum number of viewers.

3. Analyze Performance Metrics: Beyond timing, Pinterest Analytics offers a wealth of information on how your Pins perform. This includes metrics like views, saves, and clicks. By understanding these metrics, you can create more of what your audience loves and less of what they don’t.

pinterest analytics

Leveraging Pinterest Analytics allows you to make informed decisions, ensuring your content resonates with your audience and drives your desired outcomes. It’s not just about posting; it’s about posting smartly.

Common Pitfalls and How to Avoid Them

When it comes to scheduling posts, there are a few common mistakes that can sabotage your Pinterest marketing. Here’s how to avoid them:

  • Optimize Your Pin Titles, Descriptions, and Images: Make sure your Pins are easy to find and engaging on the Pinterest board. Use relevant keywords and high-quality images to grab attention.
  • Plan a Content Calendar: Align your Pins with audience interests and seasonal trends. This keeps your content relevant and engaging year-round.
  • Use Pinterest Analytics: Don’t overlook the insights Pinterest Analytics offers. It can guide your scheduling decisions, helping you post when your audience is most active.
  • Adapt to Pinterest’s Algorithm Updates: Stay updated with Pinterest Algorithm changes and adjust your strategy accordingly to maintain your Pin’s visibility.
  • Engage With the Community: Scheduling is important, but so is interaction. Engage with your followers and the wider Pinterest community to boost your strategy’s effectiveness.

Be mindful to avoid these missteps with your scheduling plans for the best ROI on your Pinterest marketing efforts.

Unlock the secrets to boosting your Pinterest traffic – click here to discover the ultimate strategies for 2024!

Pins on Pinterest Not Showing Up

You’ve carefully crafted your Pins, scheduled them perfectly, but they’re nowhere to be found? Here are some reasons why your Pins might not be showing up on Pinterest:

  • Visibility Settings: Double-check your Pin’s visibility settings. Did you accidentally set it to “secret”? A secret Pin is only visible to you and anyone you specifically share it with.
  • Board Relevance: Ensure your Pin aligns with the theme of the board you’ve saved it to. Irrelevant Pins might not be shown on the board feed.
  • Community Guidelines: Unfortunately, your Pin might have violated Pinterest’s Community Guidelines. Check your email for any notifications from Pinterest regarding content removal. You can review the guidelines here to ensure future compliance.
  • Keyword Optimization: Low keyword relevance in your Pin description and title can affect search visibility. Research popular keywords related to your Pin’s content and incorporate them naturally.
  • Spammy Content: Avoid excessive promotional language or repetitive content. Pinterest prioritizes informative and valuable content for users.
  • Technical Issues: Sometimes, temporary glitches on Pinterest’s end can prevent Pins from displaying correctly. Try refreshing the page or logging out and back into your account.

Troubleshooting Tips:

  • If you suspect a visibility issue, try editing the Pin and republishing it.
  • Analyze your current content strategy and optimize your Pins for searchability using relevant keywords.
  • Monitor your Pinterest analytics to understand how your Pins are performing and identify areas for improvement.

Remember, consistency and quality content are key. By regularly creating engaging Pins following Pinterest’s best practices, you can increase your chances of visibility and reach.

Conclusion

In summary, scheduling Pins on Pinterest is a powerful strategy for small business owners and marketers aiming to enhance their brand’s visibility and engagement. By preparing properly, leveraging various scheduling methods, and utilizing Pinterest Analytics, you can optimize your content strategy effectively.

Avoid common pitfalls by optimizing content, planning a content calendar, adapting to algorithm updates, and engaging with the community. Implementing these strategies will help you make the most of your Pinterest marketing efforts, ensuring a steady and engaging presence on the platform.

Frequently Asked Questions

Can I schedule Pins directly on Pinterest?

Yes, you can schedule Pins directly on Pinterest if you have a business account. You can schedule a Pin up to 30 days in advance.

How many Pins can I schedule at once?

You can schedule up to 100 Pins at a time using Pinterest’s native scheduling feature.

Can I edit a Pin after scheduling it?

Yes, you can edit the Pinterest board, description, and the scheduled time of a Pin after scheduling. However, you cannot change the image or video once it’s scheduled.

Is it possible to schedule Pins for multiple boards?

For each scheduled Pin, you can select only one board. If you want to Pin to multiple boards, you need to schedule them separately.

How do I view my scheduled Pins?

You can view your scheduled Pins by going to the ‘Scheduled Pins’ section in the ‘Create’ tab on your Pinterest business account.

Can I use third-party tools for scheduling Pins?

Yes, you can use a third-party Pinterest scheduler like RecurPost. These tools offer additional features like bulk scheduling and analytics.

What’s the best time to schedule my Pins?

The best time to schedule your Pins depends on your audience’s activity. You can use Pinterest Analytics to see when your audience is most engaged and plan your scheduling accordingly.

Can I schedule video Pins?

Yes, you can schedule video Pins just like you schedule image Pins, selecting the date and time for them to go live.

Which is the best Pinterest scheduler?

RecurPost is considered the best free Pinterest scheduler, all thanks to its wide range of features such as content calendar, tracking performance, collaboration features with team members, and more.